Find at this website: Peke Safety
]]>Step 1: Make the temporary fence
How to Build a Crown Fence for Your Miter Saw
You will need a piece of ¾ inch plywood for the Crown Fence. Any scrap piece you have on hand that will fit the dimensions specified below will be OK. I have always used ¾ inch plywood for this but you might want to try it with ½ inch plywood if that is what you have available.
The length of the Crown Fence can be longer than the fence on your miter saw but you can simply match the length of your miter saw fence and that should be sufficient. The width of the Crown Fence needs to be such that there will be sufficient material to hold it together when you cut a 90 degree and two 45 degree slots into the Crown Fence. So the width of the Crown Fence depends on the miter saw dimensions. If you have a sliding compound miter saw you will need to restrict the sliding action so that you don’t cut through the Crown Fence. Set the slider so that it will cut the piece of crown molding and maybe a bit more just to make sure that the crown is completely cut through. Yes, you will not be able to see the miter saw’s detent settings. This is one reason why you cut the Crown Fence at the 90 and 45’s. These cuts can also help you line up your cuts on the crown molding.
The distance that the Crown Fence is located relative to the miter saw fence is determined by the wall projection of the crown molding. You can find this by setting the crown molding in the nested position on your miter saw fence. Put the crown molding with the bottom of the molding up against the fence and the top of the molding down on the miter saw base. Make sure that the “flats” are completely touching the miter saw fence and the base of the miter saw. Make a mark on the base of the miter saw where the crown molding is located. Measure the distance from the bottom of the miter saw fence to the mark you just made. This is the wall projection of your crown molding. The most accurate way to position your Crown Fence on the miter saw is to rip a piece of scrap to the width of the wall projection you just measured then insert it flush up against the miter saw fence followed by your Crown Fence. You can attach the Crown Fence to your miter saw with clamps, double sided tape, or cyanoacrylate glue (CA glue). Just make sure that the Crown Fence is tight against the scrap piece you just ripped. Remove the scrap piece and make your 90 and 45 degree cuts in the Crown Fence and you are ready to cut crown.
Step 2: Cut the molding
Cutting Crown in Nested Position on Miter Saw
When cutting in the nested position you set your saw’s bevel to zero degrees and leave it there. Always, put the top of the crown on the base of the miter saw and the bottom of the crown goes against the miter saw fence. The only manipulation you make on the miter saw is pivoting it to either the right 45 or the left 45. The only other decision to be made is where to position the crown, either to the right or left of the blade. The following aids can be taped to either the right or left of the miter saw. All you need to do is figure out whether you are cutting an inside or outside corner and whether it is on the right or left side of the corner. Once you have done that, plug it into the aids taped to your saw and make the cut. It’s pretty much automatic after that.
Here are the signs to be taped to your miter saw:
On the left side of your miter saw:

On the right side of your miter saw:

The placement of the sign on the right or left side of the saw tells you which side to pivot your miter saw. The line down the middle of the sign separating the two cuts tells you which side to place the part of the crown you want to keep. For example, if you want to cut a right outside miter you would pivot the saw to the right because the sign is placed on the right of your miter saw and you would put the part of the crown you want to keep to the left of the blade. In other words, the placement of the sign tells you which way to pivot your saw and the placement of the text tells you which side of the blade to place the crown that you want to keep. I hope this is helpful. Any questions give me a call.
]]>
Bleaching wood is not something you should or will do very often, but there are times when it can be of great benefit. If you routinely refinish old furniture you may already be familiar with using different types of bleach to lighten wood, eliminate stains, and remove old dye in preparation for new coloring and finishing.
Bleaching can be an effective way to even out the color variation of different boards within a wood species, so that mismatched boards can be used together in table tops, door panels, etc.
There are three major types of bleach that are available and suitable for use with wood: household chlorine bleach, two‐part bleach, and oxalic acid. In this article we’ll take a look at each one to understand what they do and how to best use them.
Warning: These chemicals can be dangerous if used improperly. Be sure to wear rubber gloves and chemical goggles when working with any of these products, and read the safety information that comes with each one prior to using.
Household Chlorine Bleach
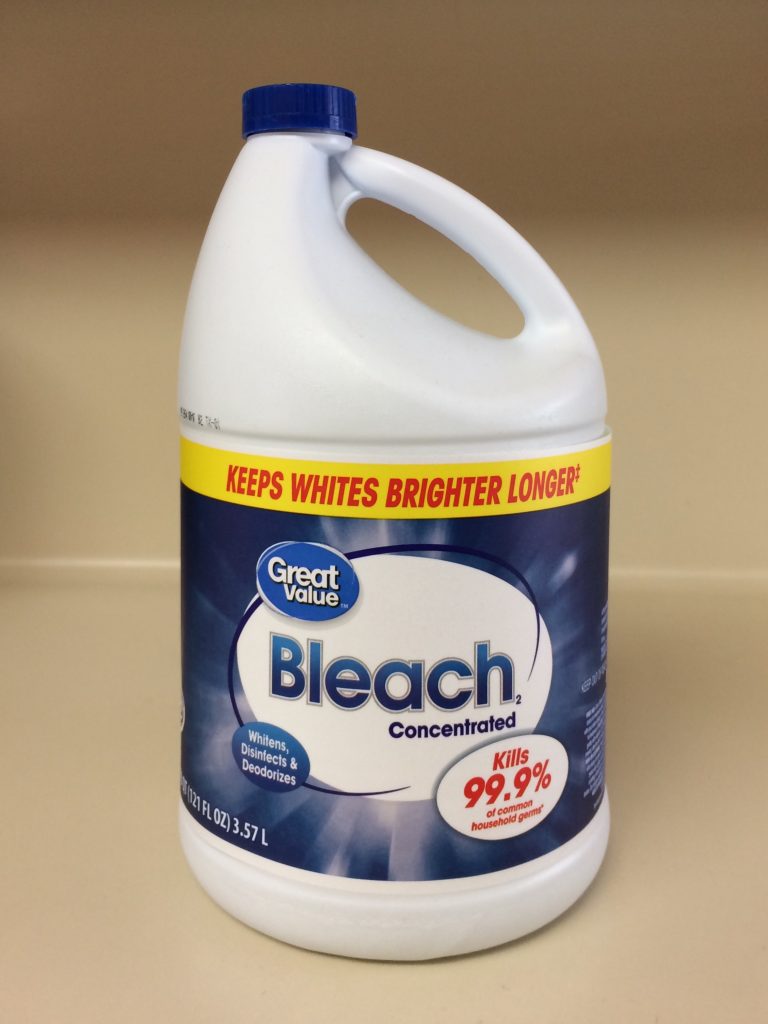
You likely have some chlorine‐based household bleach in your laundry room. The most common brand is probably Chlorox although there are lots of store brands available as well. Chlorine bleach is generally sold as a 6% solution of sodium hypochlorite (NaOCl) in water, which is the strongest I’ve been able to find locally.
You should check the label and avoid anything weaker than 6%. A stronger bleach can be made by mixing calcium hypochlorite crystals (Ca(ClO)2) available from a pool supply store with water. Mix a saturated solution by warming the water and dissolving as much of the calcium hypochlorite as the water will hold.
Household chorine bleach has a definite shelf life, usually 6‐12 months after manufacture. If your bleach is too old it will not work well and should be replaced. Fortunately this type of bleach is inexpensive to there’s no reason to waste time with old bleach.
Expectations:
Household chlorine bleach will lighten wood somewhat, but will not remove the wood’s natural color. It will, however, remove the greenish gray coloring that is common in poplar, returning it to a more natural wood color. Chlorine bleach may also remove some stains or discoloration in the wood.
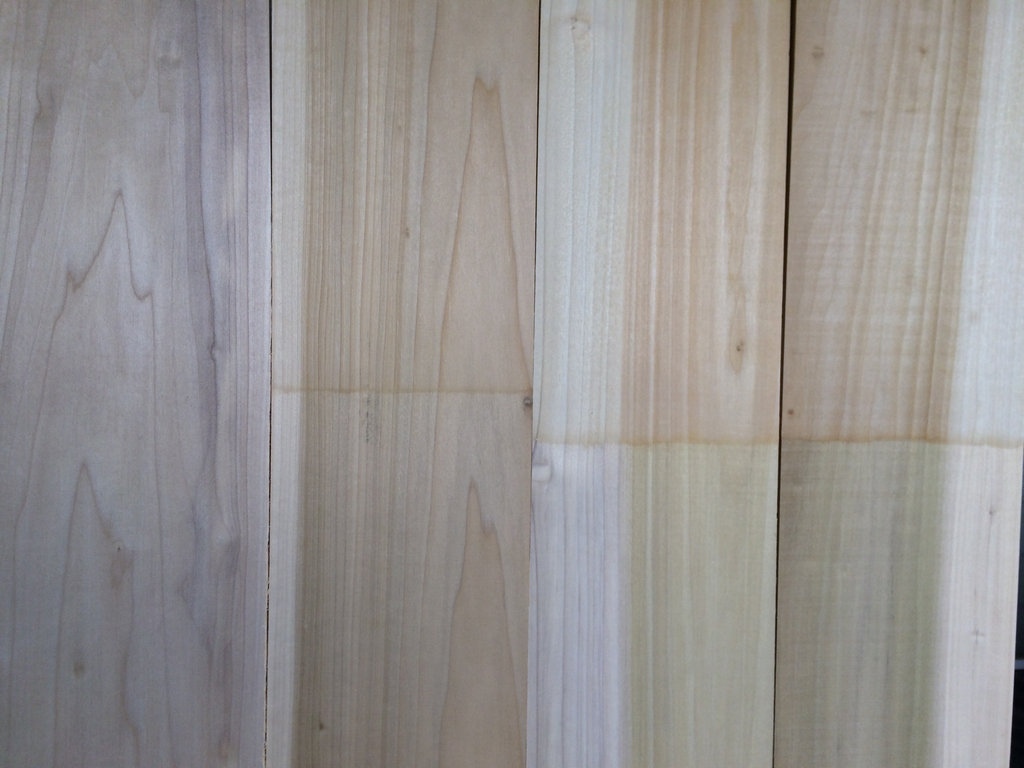
In Figure 1 below the top half of the three poplar boards on the right was bleached with chlorine bleach; the board on the left was not touched. You can see that the green and gray coloring was changed to a natural wood color but the color itself was not removed. The bleached sections are also slightly lighter in color overall.
Another interesting fact about chlorine bleach is that it will completely remove any trace of water soluble aniline dye from wood. So if you make a mistake or don’t like a color once you have applied a dye you can easily remove it and start over, as long as you have not put a topcoat of finish over it.
The board in Figures 2 and 3 was completely dyed with JE Moser’s Natural Antique Cherry water soluble aniline dye (Figure 2), allowed to dry overnight, and then the right side was bleached with chlorine bleach (Figure 3).
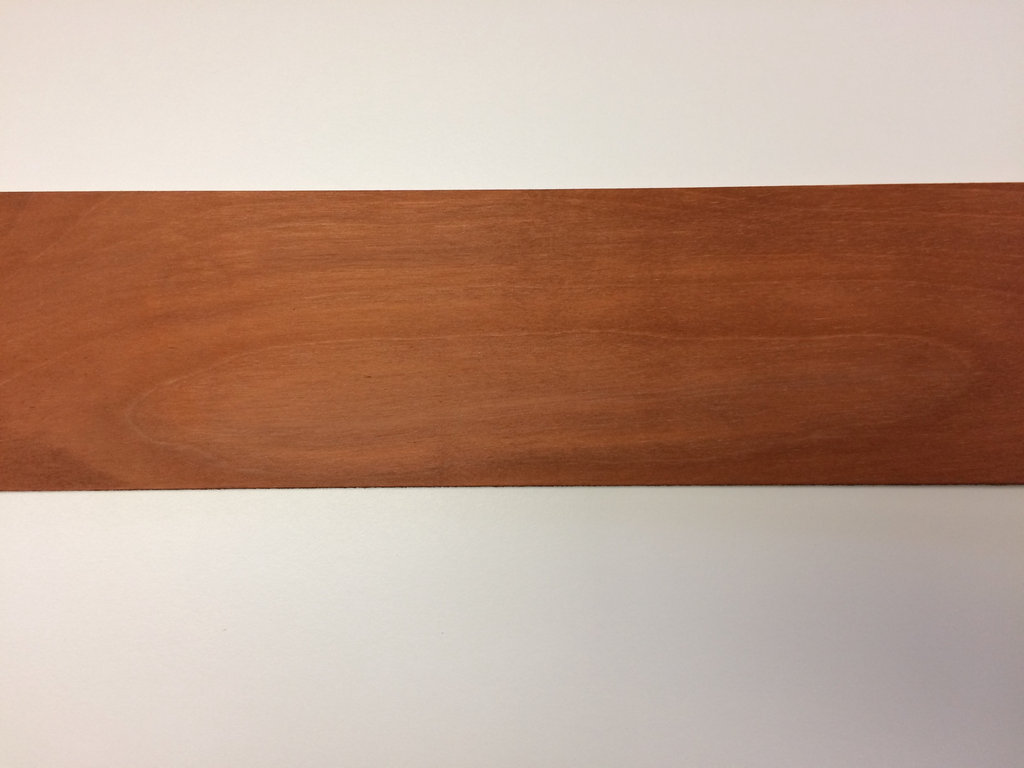
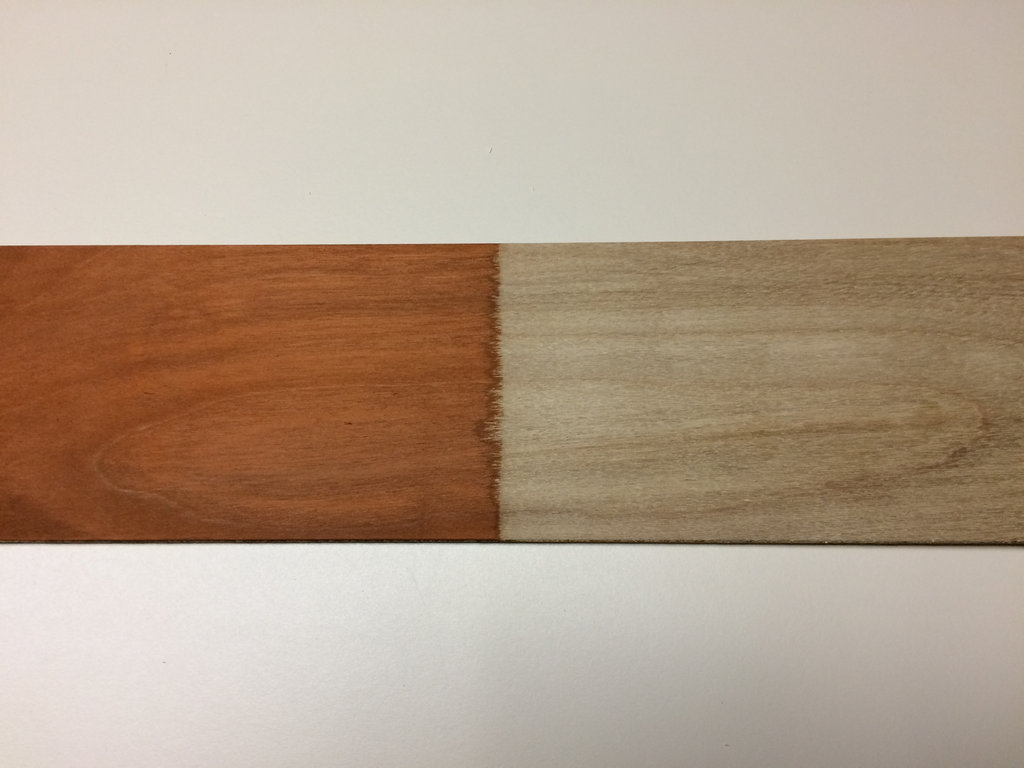
As you can see the dye was completely removed and the right end of the board is ready for recoloring. This will work only on dyes, not pigmented stains.
Application:
You can apply chlorine bleach with a rag or paper towel.
Soak the wood with the bleach and let it dry overnight. If the wood is not light enough you can repeat the process. This may or may not make a difference.
When you have finished bleaching just wipe the wood down with a wet rag and allow to dry. Since sodium hypochlorite is neither acidic nor basic no neutralization of the wood is necessary.
Water will raise the wood grain so sand very lightly with 220 or higher sandpaper when the wood is dry. Don’t sand too much or you’ll go into wood that has not been bleached.
Two‐Part Bleach
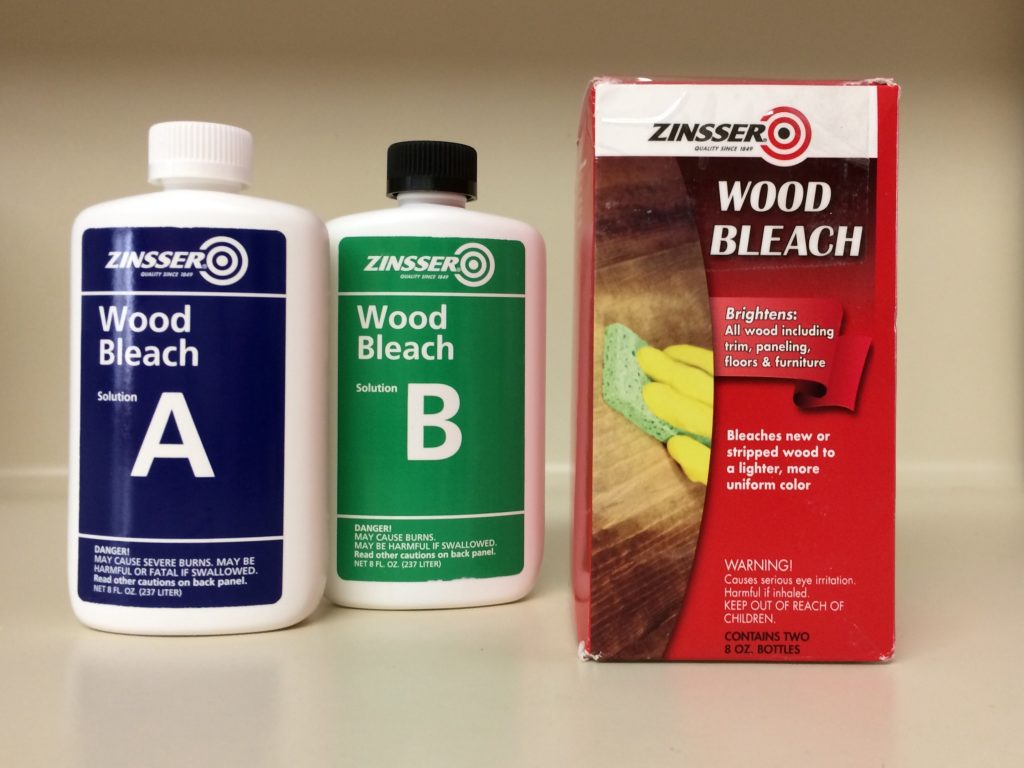
As the name implies there are two components in two‐part bleach that must be mixed, either prior to application or on the wood itself by applying one directly after the other.
The first component is sodium hydroxide (NaOH), also called caustic soda or lye. The second component is hydrogen peroxide (H2O2). When mixed they react quickly to form sodium peroxide (Na2O2), a strong oxidizing agent.
This reaction can be fairly violent so it’s important to read the instructions on the packaging carefully. Only mix the two components together prior to application if the instructions tell you to do so. If premixed the solution must be applied immediately as the bleaching strength dissipates rapidly.
Expectations:
Two‐part bleach is the only way to actually remove the natural color from wood, and it works amazingly well on some species such as red oak and walnut. However, this may not be what you want as it can remove the tonal variances that make wood interesting.
Pine and poplar are already fairly light so don’t expect them to lighten much.
Others like cedar, redwood, and elm are difficult to bleach. Always test on scrap wood or on a hidden area if possible.
Two‐part bleach may also lighten some pigmented stains, but is likely to be ineffective with dyes.
This bleaching system is expensive relative to household bleach, so try the household bleach first to see if it does what you want. You can expect to pay $17–$19 per pint for two‐part bleach compared to about $6 per gallon of chlorine bleach.
In Figure 4 below you can see that red oak will turn bone white with a single application of two‐part bleach.
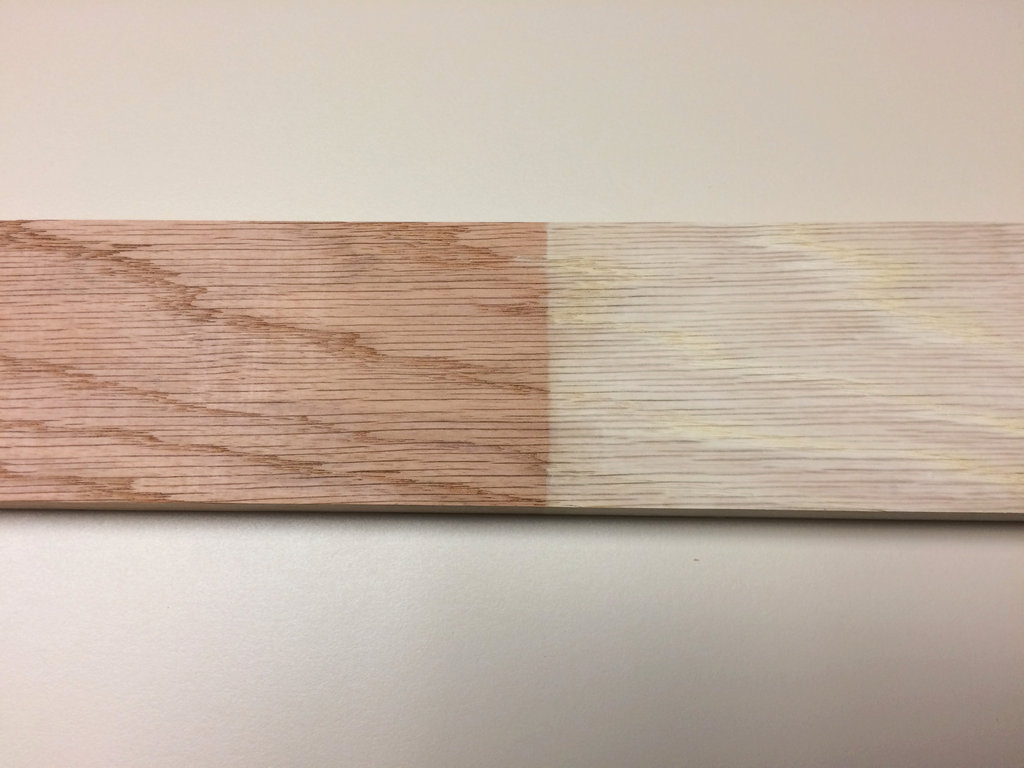
Using the same four‐board poplar panel that was used to test the effectiveness of household bleach, I applied two‐part bleach to the top half of all four boards.
The three boards that had been previously bleached with chlorine bleach got lighter, and the board that had not been bleached (on the left) lightened as well but had a more yellowish hue (Figure 5).
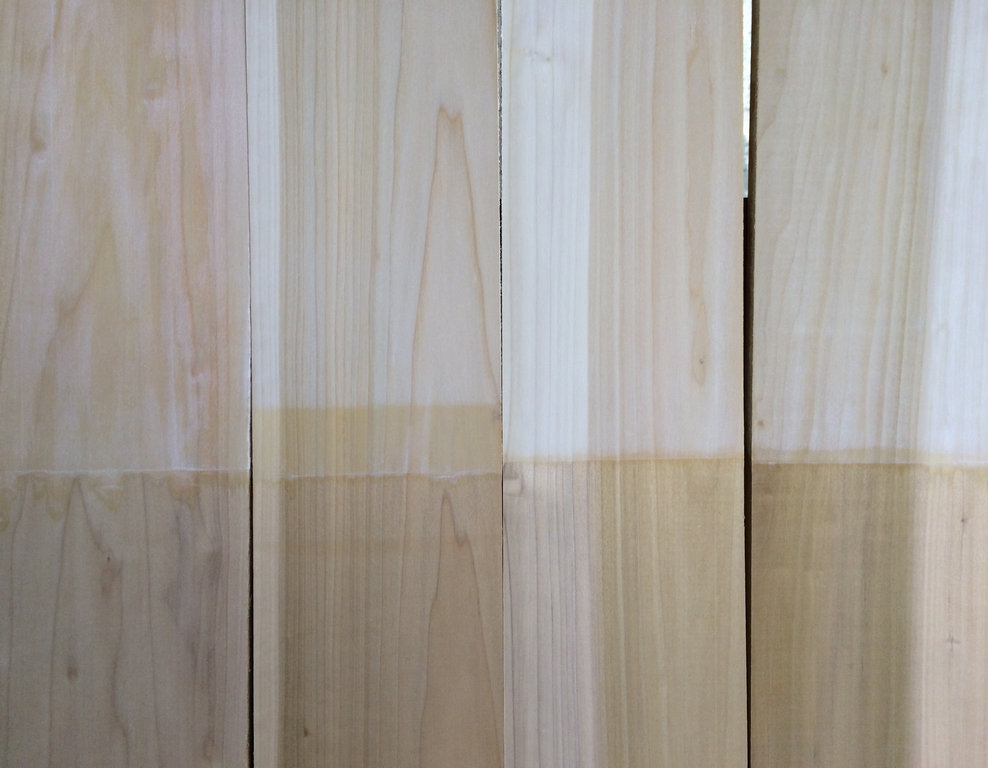
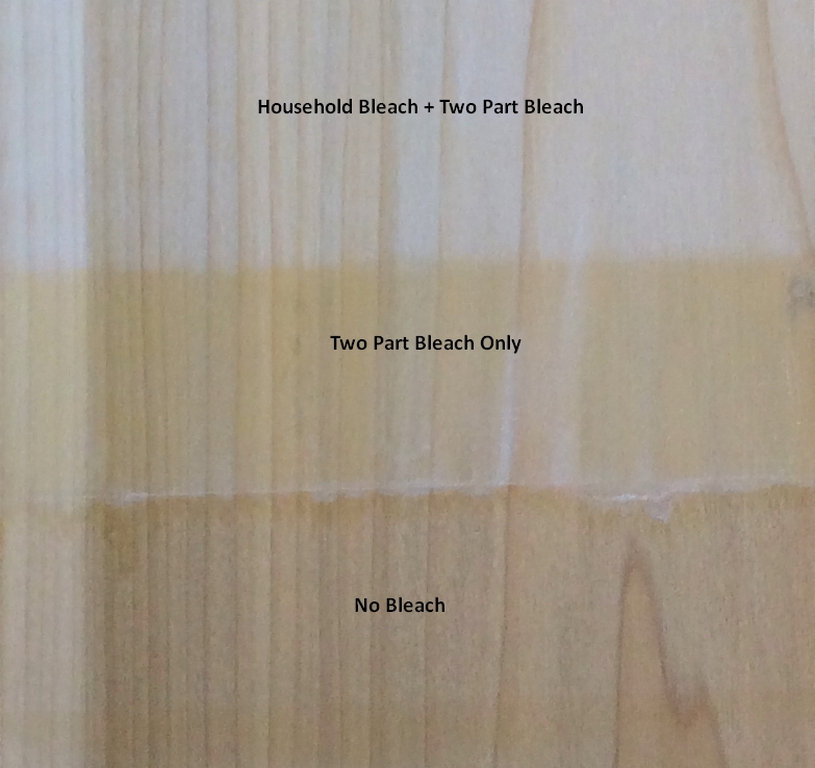
The effect of using more than one type of bleach on the same piece of wood is evident when taking a closer look at one of the boards where the two‐part bleach overlapped onto a section of previously untreated wood (Figure 6).
Application:
Two‐part bleach may be applied with a rag or with a synthetic bristle brush. I tried both and found that brushing was much easier and gave more even coverage than using a rag. Use either glass or plastic containers to mix the components (if the instructions say to to so) or to hold the chemicals. Do not use a metal container.
If applying each component directly to the wood without prior mixing use the order described in the instructions that came with your brand of bleach, although it probably doesn’t make much difference. If applying the caustic (NaOH) first you might notice the wood turning darker. Don’t worry; this will quickly reverse itself once the second component is brushed on.
Allow the wood to dry overnight.
If you’re not satisfied with the results then repeat the bleaching process.
Once you are happy with the color the wood must be neutralized with a mild acid to get rid of any caustic residue. Flood the surface with a 50/50 mixture of water and white vinegar, then rinse with clear water and let dry overnight.
Sand lightly when dry with 220 or higher sandpaper, again taking care not to sand too aggressively.
Oxalic Acid
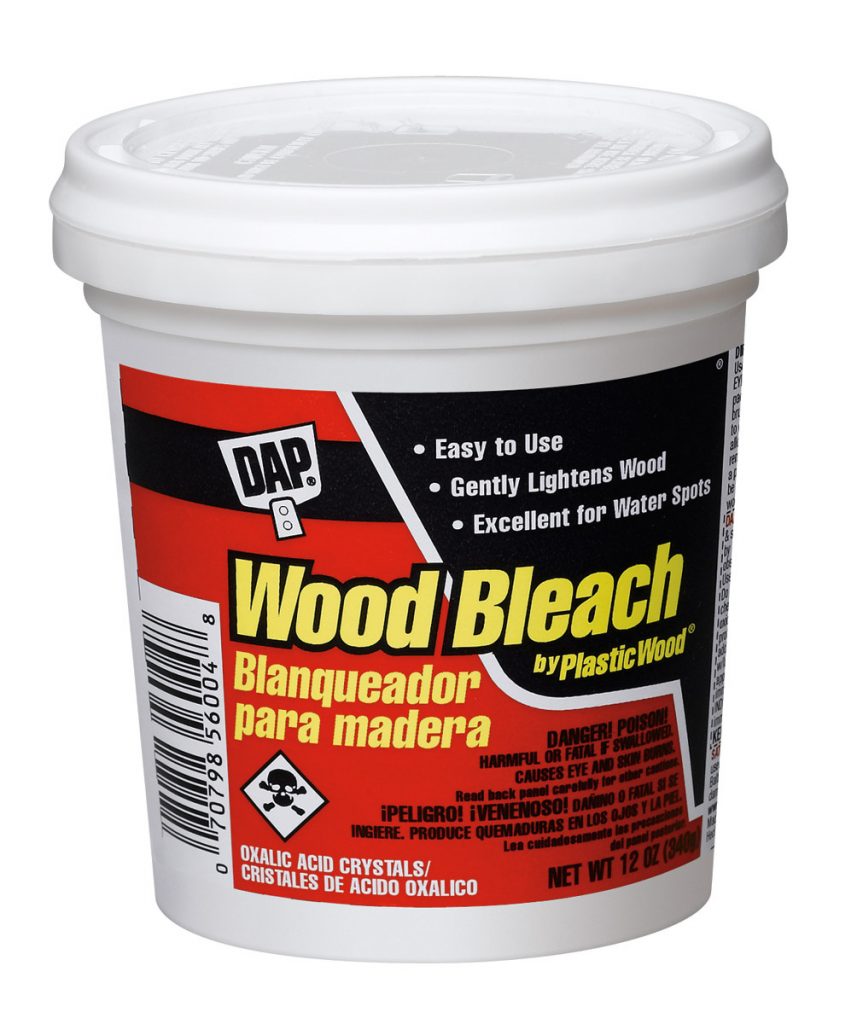
Unlike the previous two bleach types oxalic acid is used primarily to remove dark water/rust stains in wood. It is often labeled as “Wood Bleach”, and it’s easy to mistakenly order oxalic acid when what you really wanted was a two part bleach.
Expectations:
When iron is in contact with tannin in wood it produces a dark stain in the wood. This is usually seen around
nail or screw holes or maybe where an old set of hinges once was. Oxalic acid will remove that discoloration. Tap water can also cause dark stains on wood with high levels of tannic acid because it usually contains trace amounts of iron.
While it will not normally change the wood color itself you should treat the entire surface, not just the area around the stain. Oxalic acid will remove wood oxidation and return grayed and weathered wood to a natural color. Treating the whole surface will ensure that there are no areas that appear lighter than the surrounding wood.
Application:
Oxalic acid is sold in a granular form. To create a saturated solution stir the oxalic acid crystals into hot water in a glass container until no more will dissolve. This solution may be stored for as long as you need to keep it.
Warning: Oxalic acid is very toxic. Be sure to wear a dust mask to avoid inhaling any solid particles while handling.
Apply oxalic acid solution to the work surface with either a rag or a plastic spray bottle until the entire surface is saturated.
Let the wood dry and then re‐wet to be sure the stain is gone. If not then treat again.
Once the stain has been eliminated the wood must be neutralized to remove traces of the acid before applying a finish.
Wash the wood several times with water and baking soda, followed by a clean water rinse.
Let the wood dry overnight and sand lightly as you would with the other types of wood bleach.
]]>https://www.woodmagazine.com/wood-supplies/lumber/hardwood-grade-school
]]>
View not in use 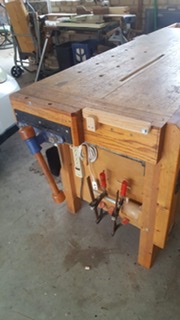
View in use from table end 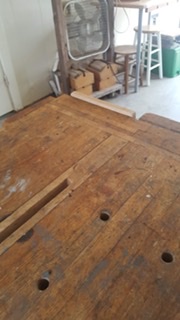
View from table
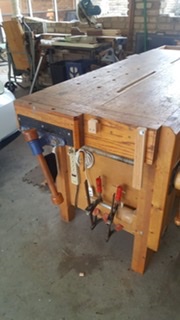
I made it removable in case it gets in the way of using the vise mounted on the end of the table. Experience will provide the answer. Meanwhile, happy woodworking! 
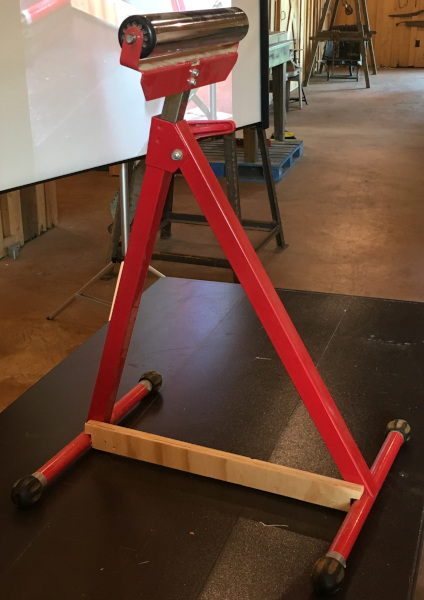 ]]>
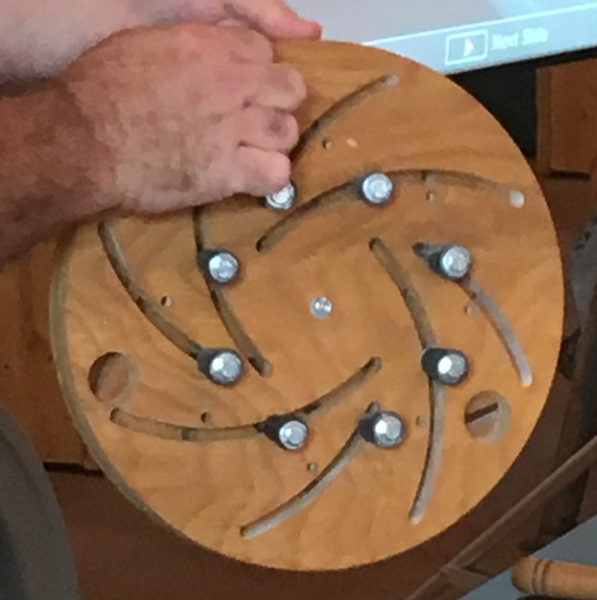
]]>
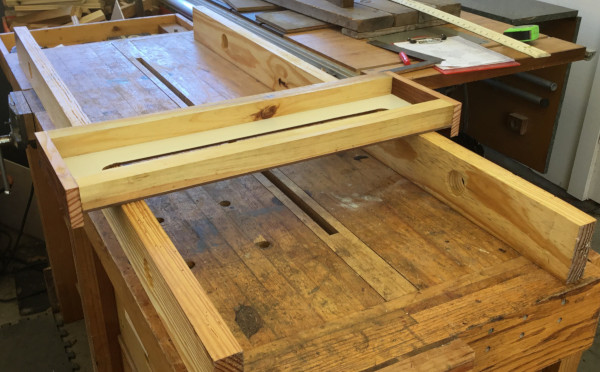
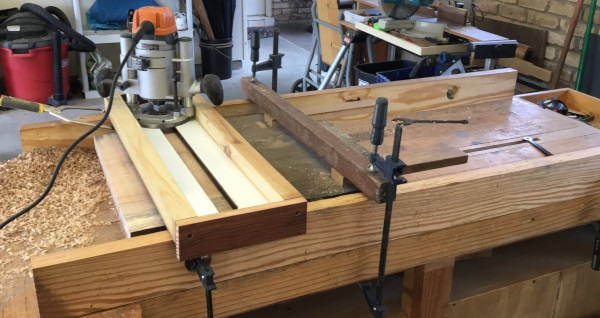
I built this slab flattening router jig to flatten the water oak slab that I harvested from my backyard. Here is the before & after flattening:
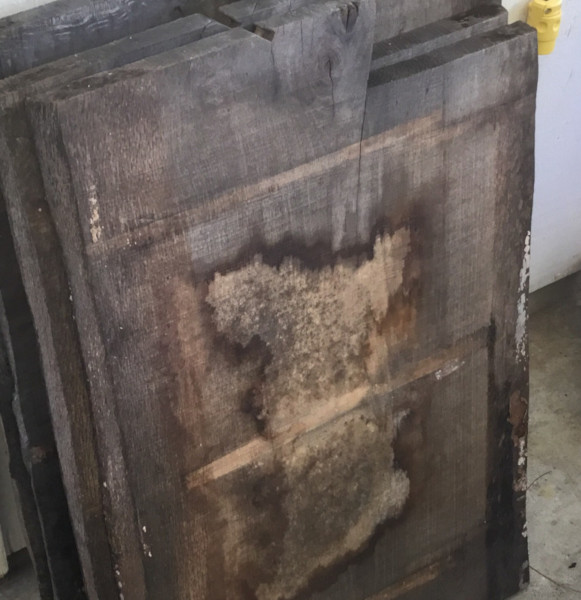
BEFORE 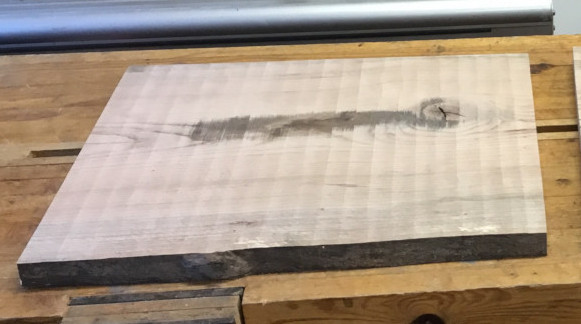
AFTER
