How To Turn A Sphere On Your Lathe
Turning a sphere on a lathe can be a frustrating experience. It’s virtually impossible to free-turn a perfectly round ball by eye without a solid methodology. There is at least one commercially available jig that will accomplish this, but it’s quite expensive unless you need to produce a large number of balls quickly.
I became interested in this strictly because it presents a unique woodturning challenge. I was looking for a method that didn’t require special (or expensive) tools, and this seemed to fit the bill. I can’t take credit for the method described here. I learned this technique from a YouTube video by Alan Stratton although I don’t think he takes credit for the method either. I’ve added a couple of minor things that I think improve the accuracy and ease of use. If you want to watch his videos, they can be found at the end of this article.
Step 1: Create homemade chucks to hold your ball
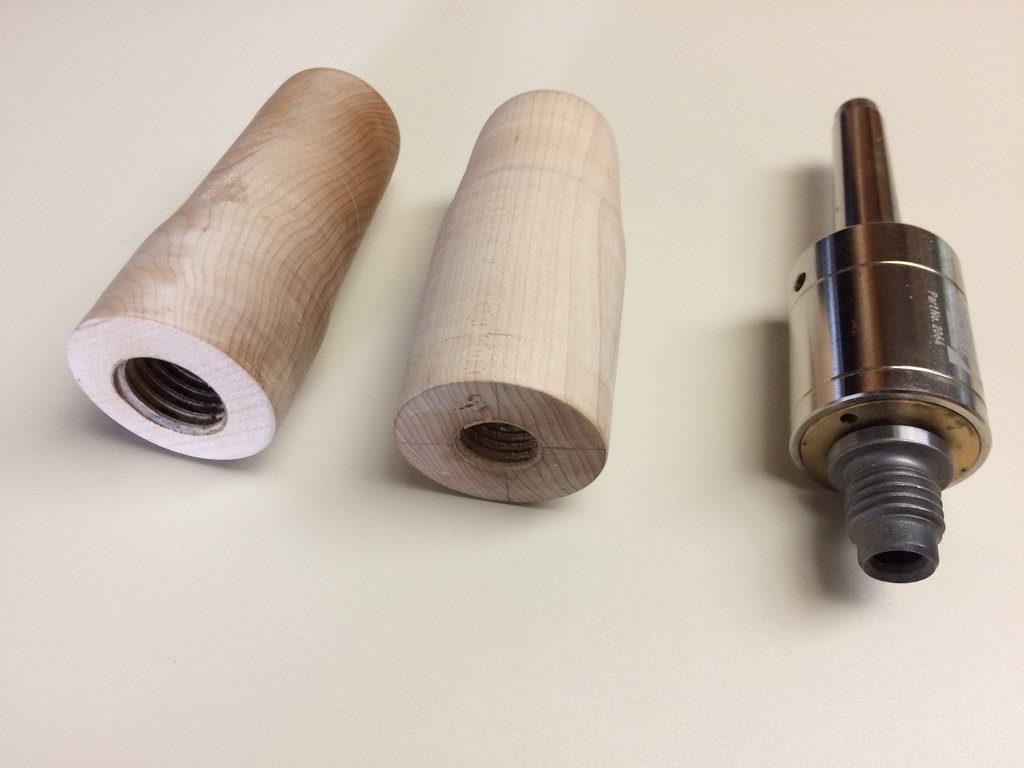
You will need some special chucks later in the process to turn your ball. These are relatively simple to make although you will need to be able to drill and tap two blanks that will mount on your headstock spindle and on a threaded live tailstock center (Figure 1). In my case I needed a tap that matched my headstock (1″ 8TPI) and one for my OneWay tailstock live center (3/4″ 10TPI). Bore a hole on the lathe 1/8″ smaller than the tap you intend to use, then cut the threads while the blank is mounted on the lathe (not turning).

Figure 1. Figure 2.
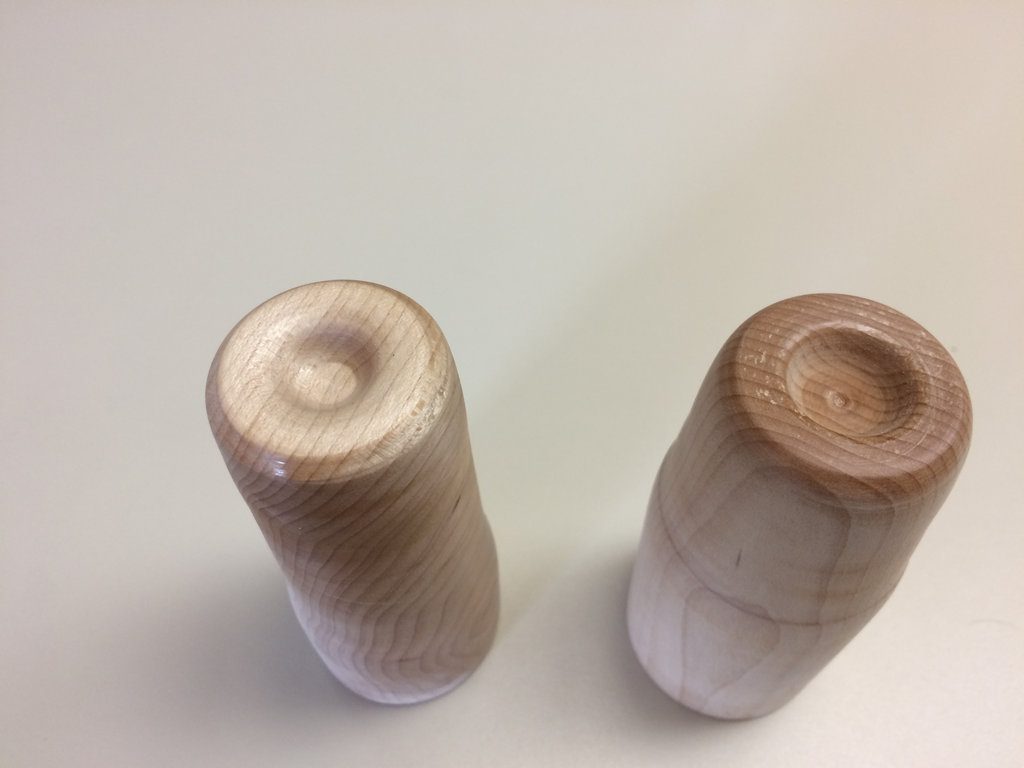
You then need to turn a small cup on the opposite end that will seat against and center the ball (Figure 2).
Alan Stratton also has a video that shows how to do this (the second video below), and you can modify the method to meet your needs, particularly if you don’t have a threaded tailstock center.
You can use almost any wood to make these chucks, but I used hard maple because I think the threads will last longer.
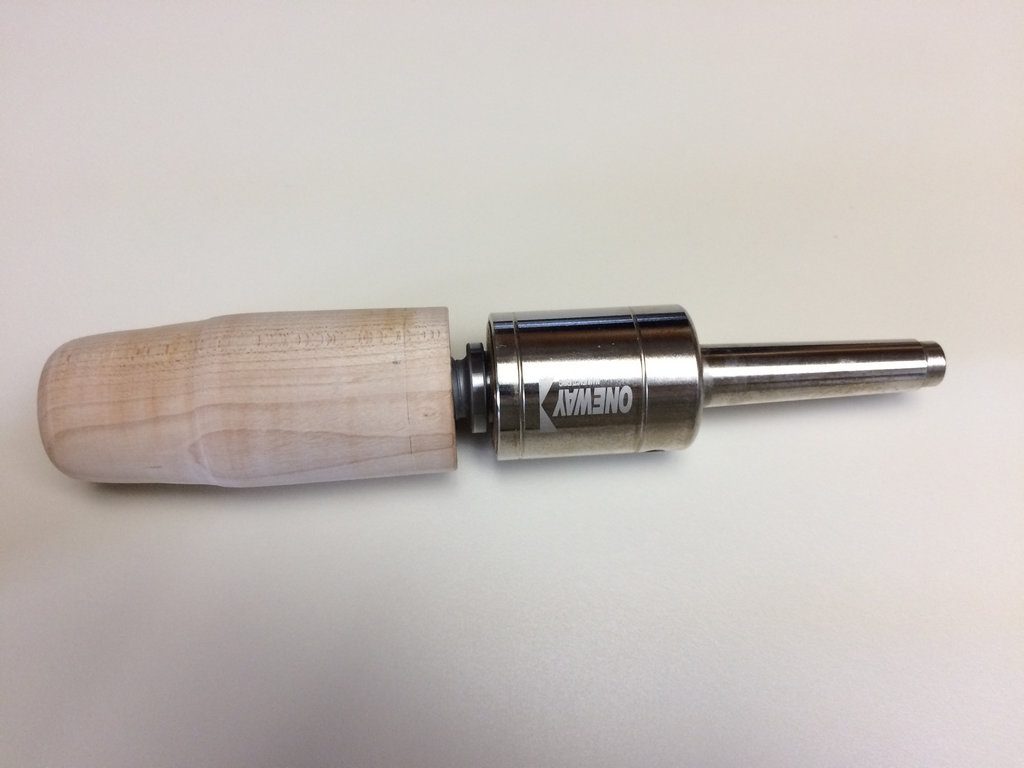
In Figure 3 you can see the tailstock chuck mounted to the OneWay live tailstock center.
Carter makes a neoprene cup system that will take the place of these chucks if you don’t want to make them. There are currently two versions. One threads directly to the headstock and has a threaded tailstock cup that will mount to your 3/4″ live tailstock center (like the OneWay center in Figure 1). It sells for about $80. The other has its own live tailstock center and sells for about $100. Either can handle balls from 2″ to 6″ in diameter.
Step 2: Turn the blank
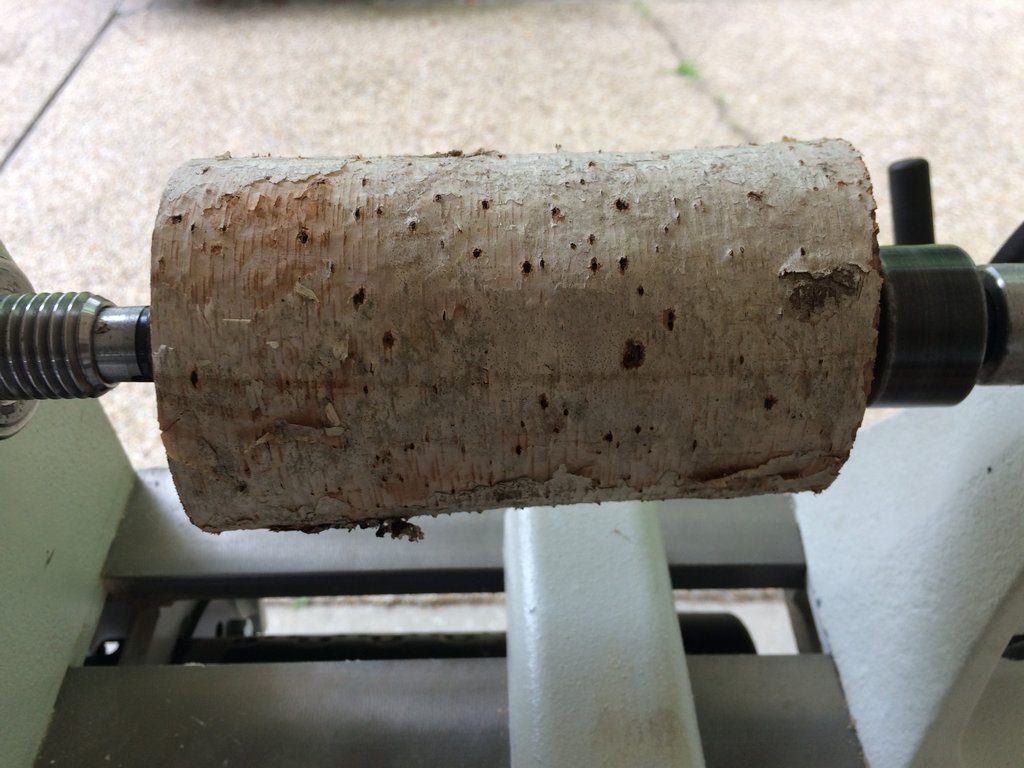
Turn a cylindrical blank with approximately the same diameter across the length of the workpiece (Figures 4 and 5). If you’re starting with rough wood use a roughing gouge to cut the wood down.
Figure 4. Figure 5.

Step 3: Rough out the sphere
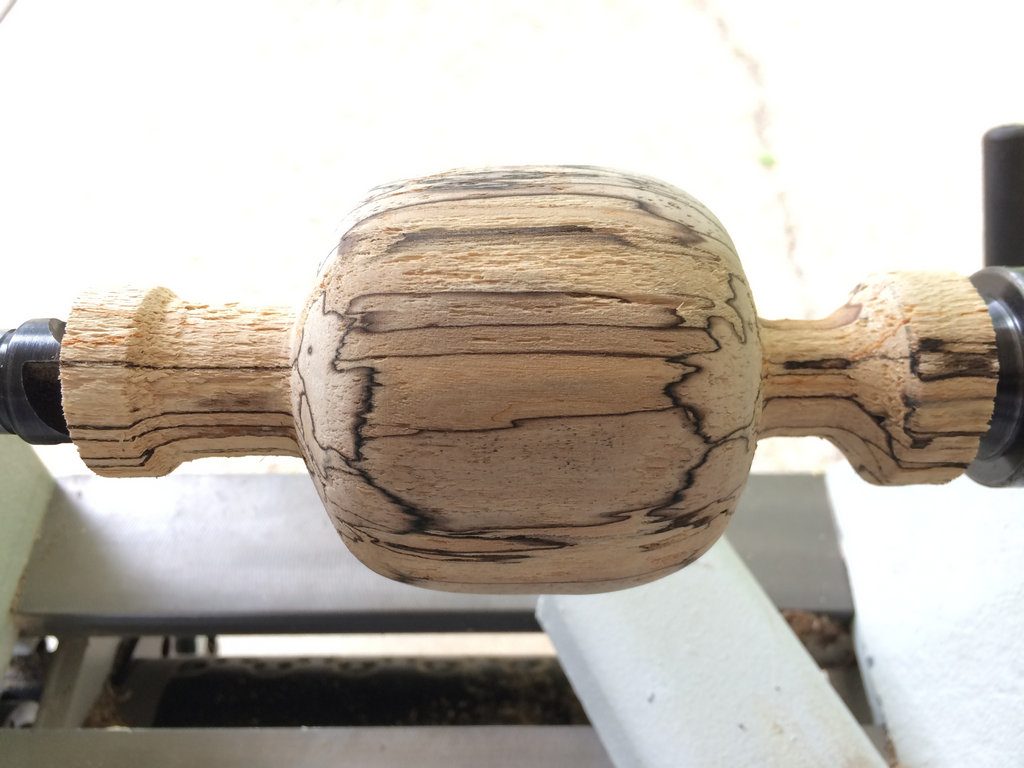
At this point you can begin to remove waste to approximate a rough sphere (Figure 6). It’s important to make sure that the elliptical form is longer than the diameter of the blank. The goal is to make it somewhat egg shaped. This gives you room later to shape it to match the original diameter of the blank. This will become more clear in the next steps
Once you have the ball roughed out then use your caliper to find the greatest diameter (Figure 7).
Figure 6. Figure 7.
As you continue to turn check frequently to ensure that the outlying areas of the ball are not smaller than the original diameter of the blank (Figure 8).
Step 4: Mark the center
When you’re fairly close to an approximately round ball again use your caliper to find the greatest diameter and mark it by placing a pencil against the workpiece and manually rotating the lathe to draw a line completely around the workpiece (Figure 9). Don’t forget this step!
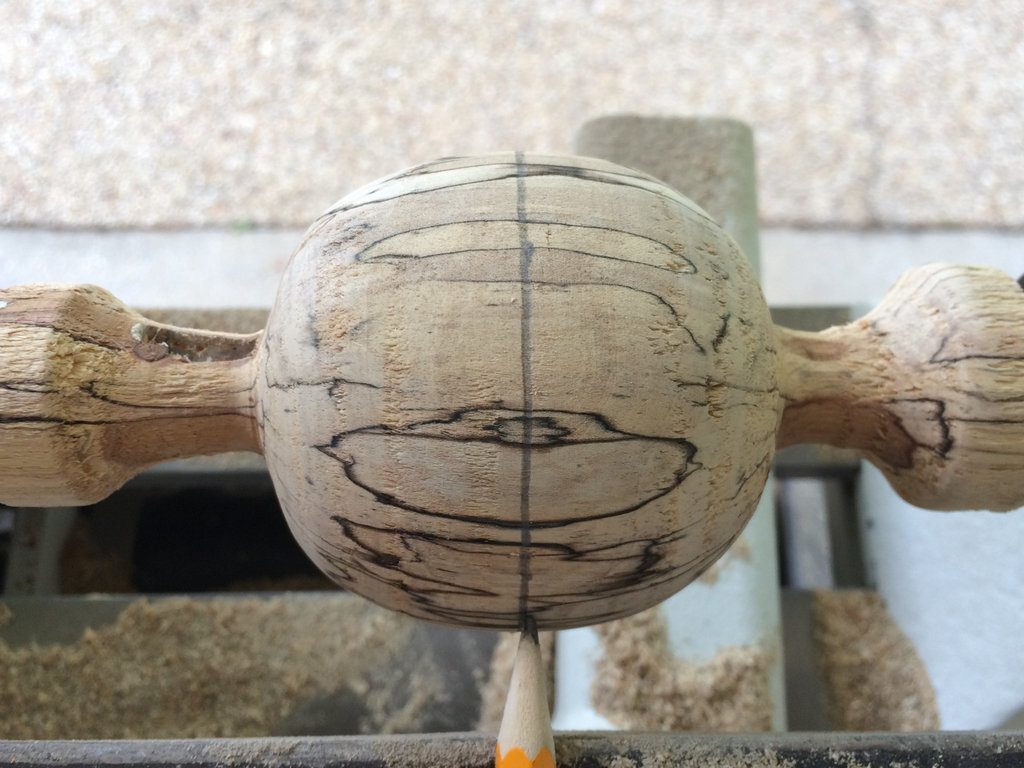
Now you can remove the workpiece from the lathe and cut off the connecting pieces (Figure 10).
Step 5: Mount the rough ball on your homemade chucks
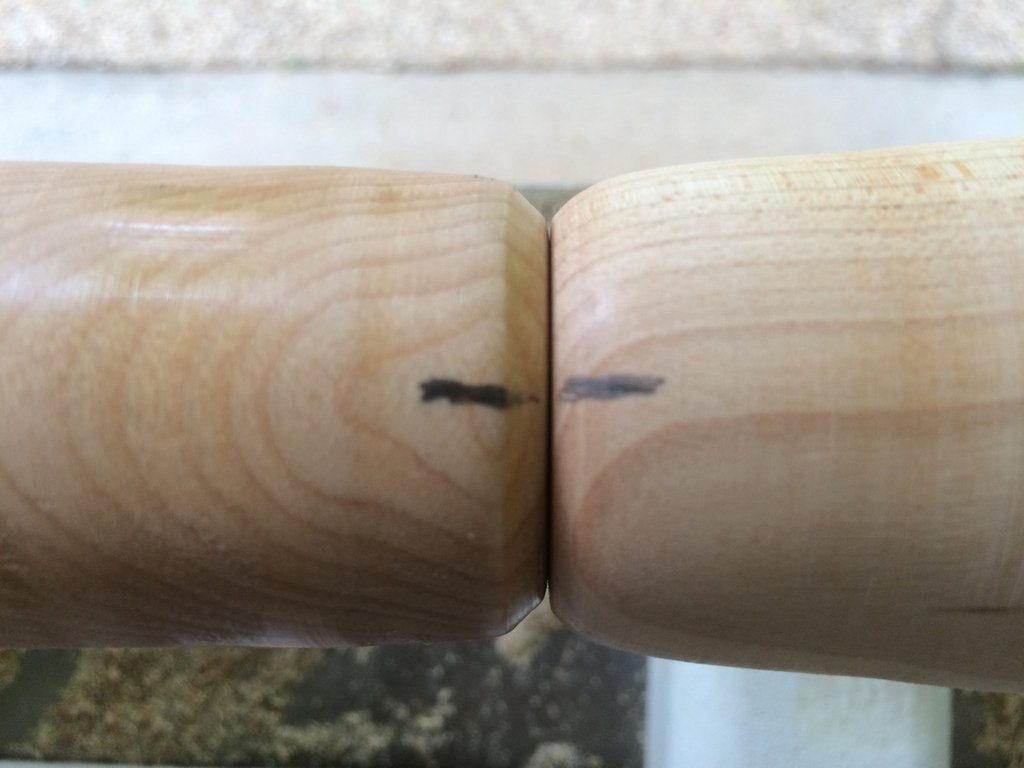
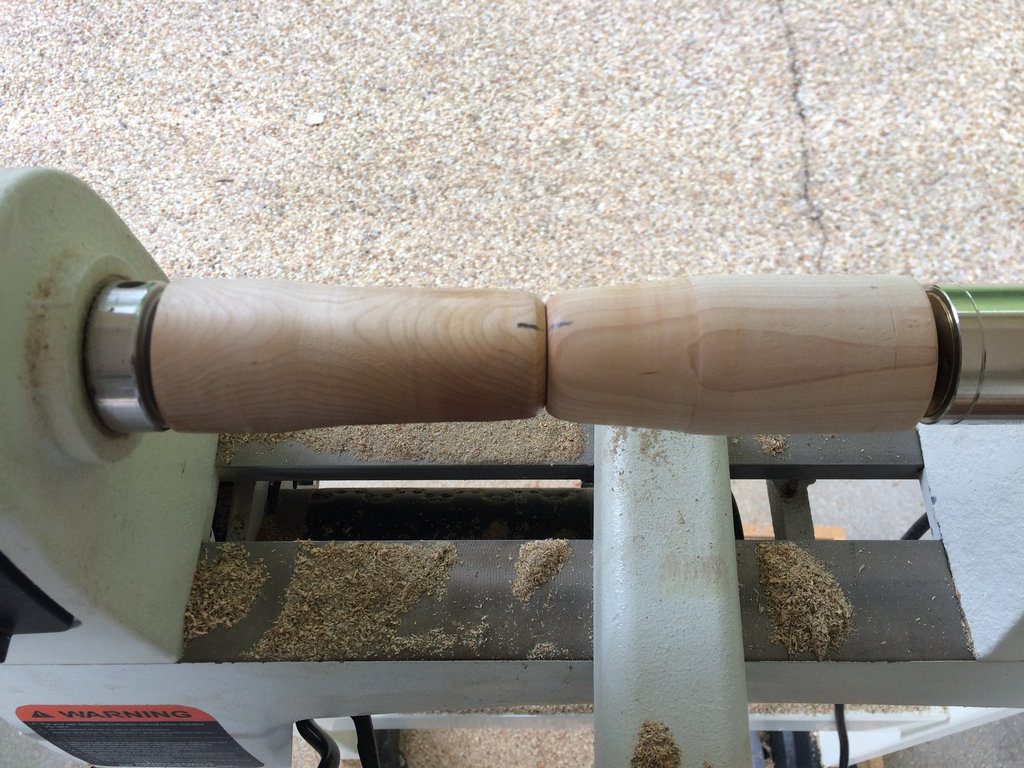
Ok, at this point, we have a rough ball that has been turned along one axis. Now we have to turn the ball along a perpendicular axis. To do this first mount your homemade chucks on the lathe and butt them together. Place a pencil mark on each (Figures 11 and 12) so that you can align the line you previously marked on the ball with the centerline of the lathe.
Figure 11. Figure 12.
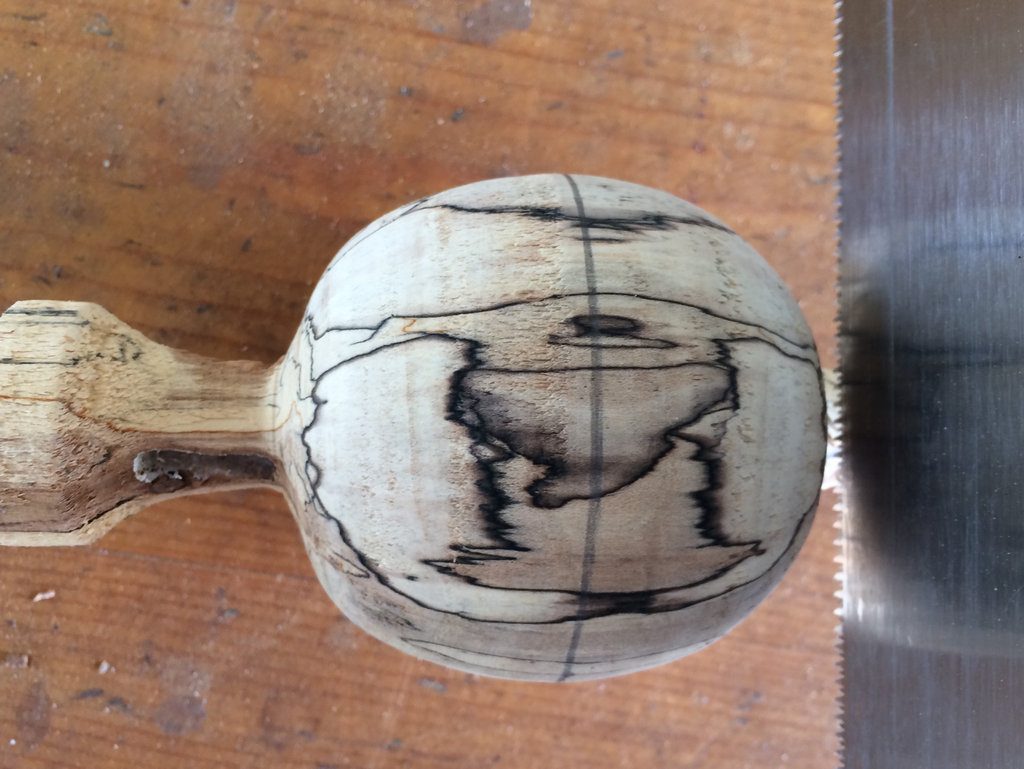
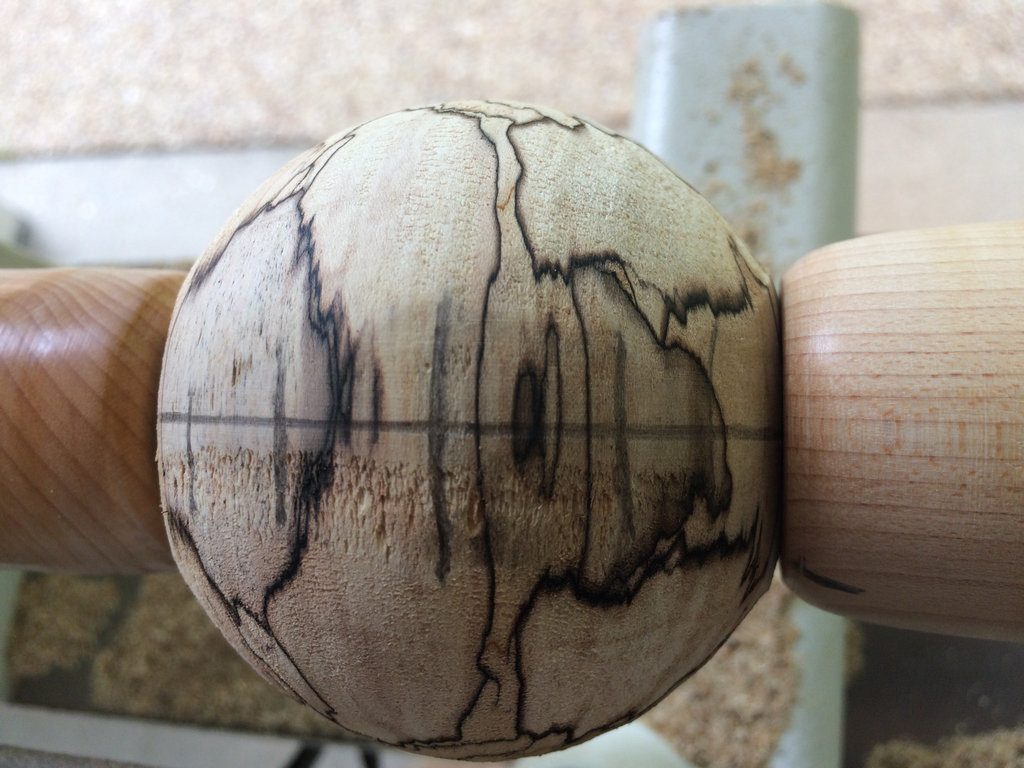
Mount the ball between the chucks and draw some additional lines perpendicular to the original line. This will let you gauge how close you’re getting to the original line as you turn on the perpendicular axis (Figure 13).
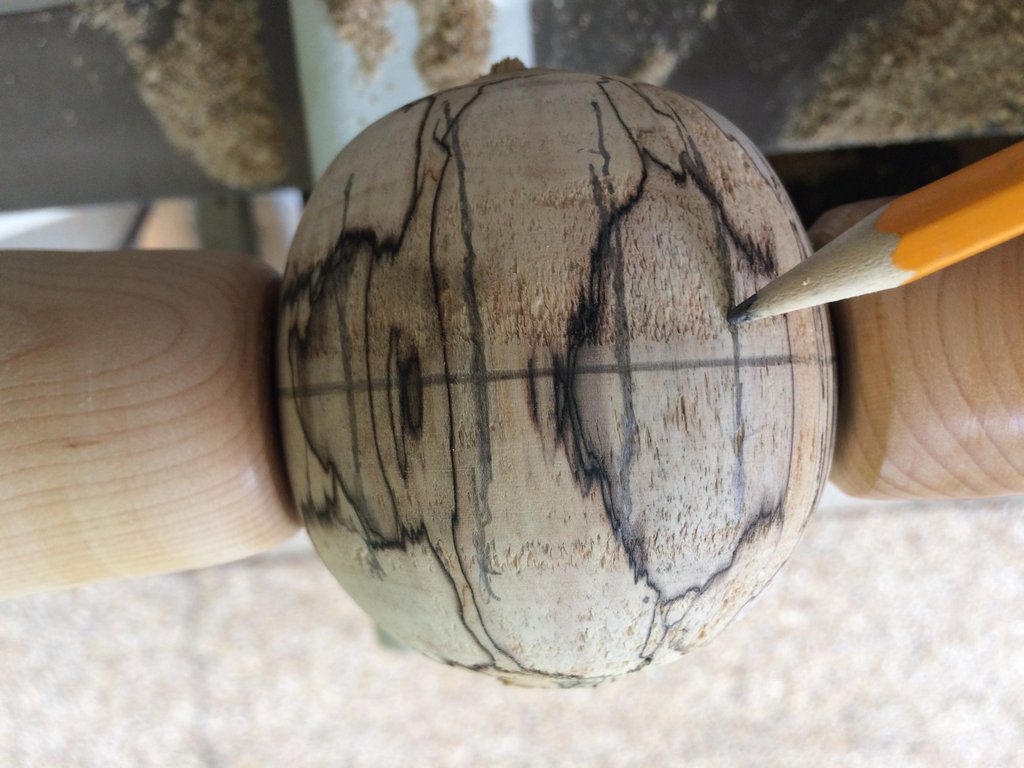
Step 6: Turning in a perpendicular axis
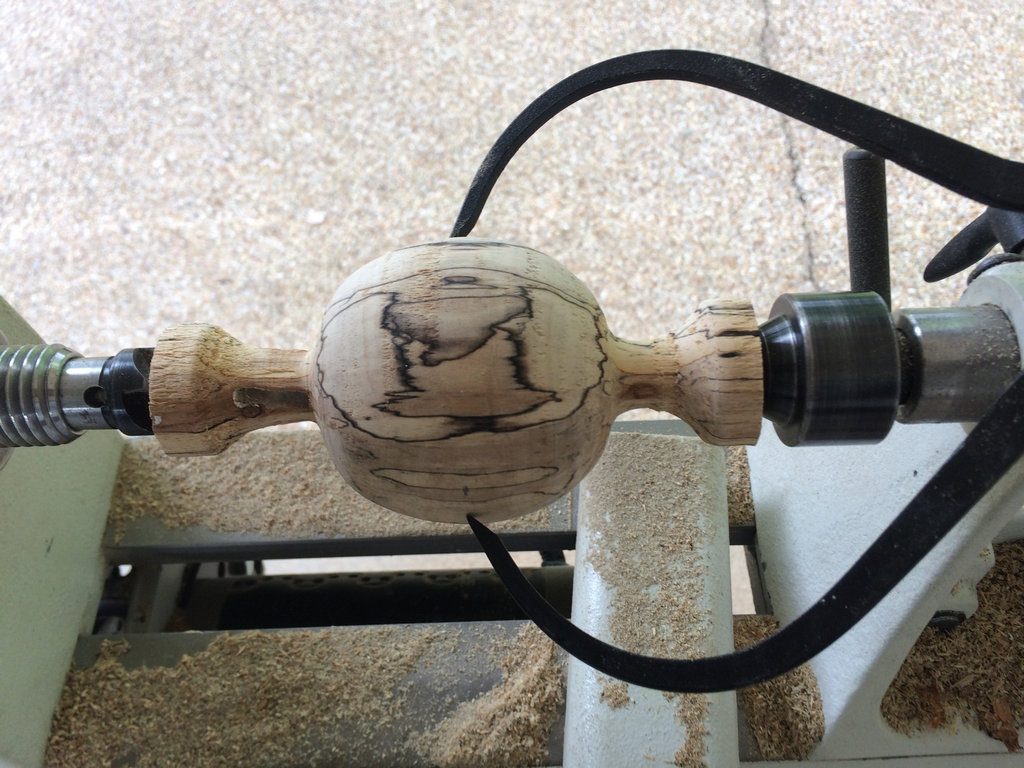
The idea here is to turn in this axis until you get very close to cutting through the centerline mark. You need to be really careful here, and stop often to check how close you’re getting. This is where the perpendicular lines you made previously are very helpful. They let you see how close you are without actually cutting through the original circumference line (Figure 14).
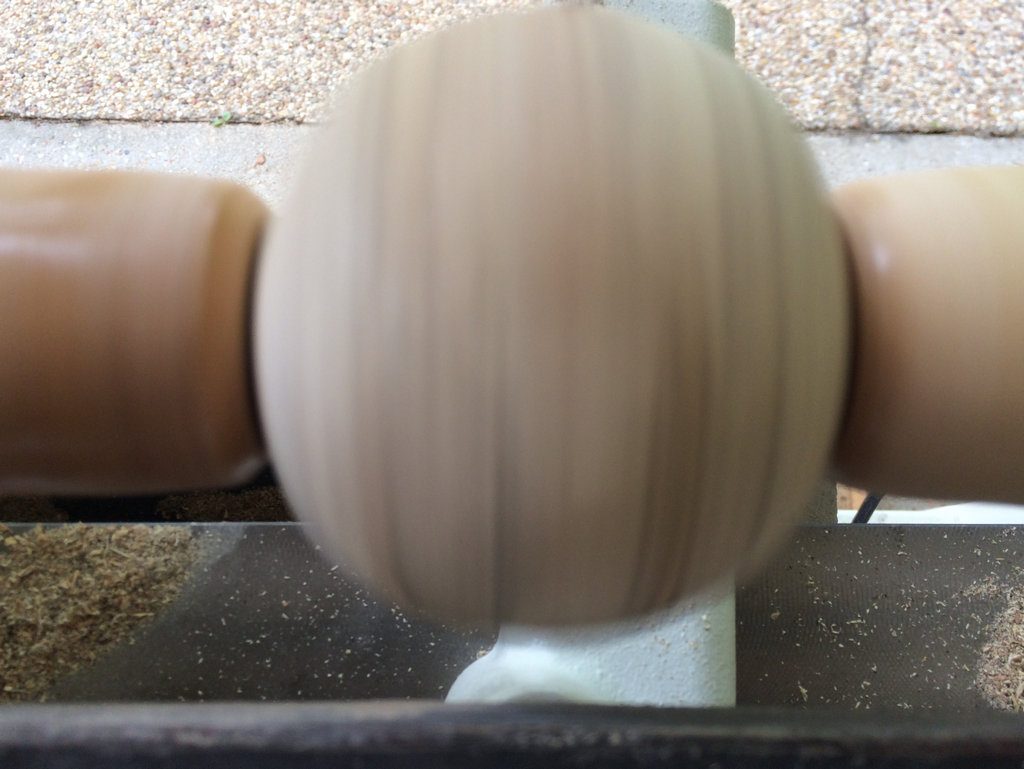
Initially you can also watch the “ghost” image as the ball is spinning to see how much out of round you are. Look at the bottom of the image (Figure 15) and you can see this. You should only rely on this until you get close to round, then go slowly, stopping often to check the perpendicular marks (Figure 14).
Step 7: Final steps
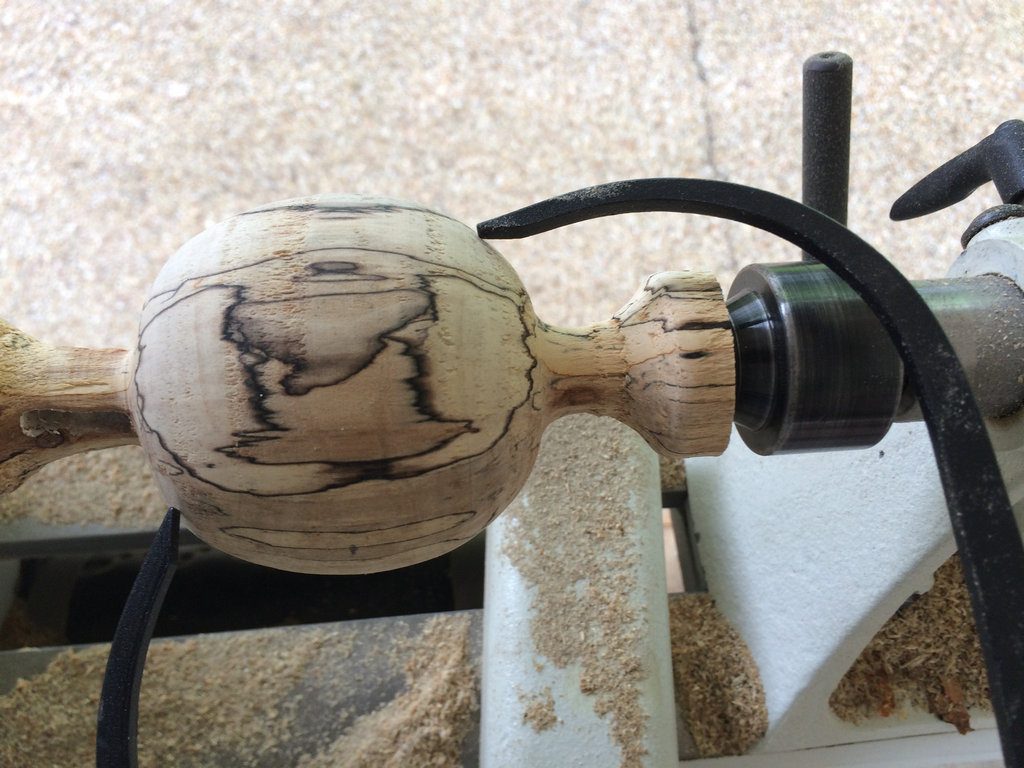
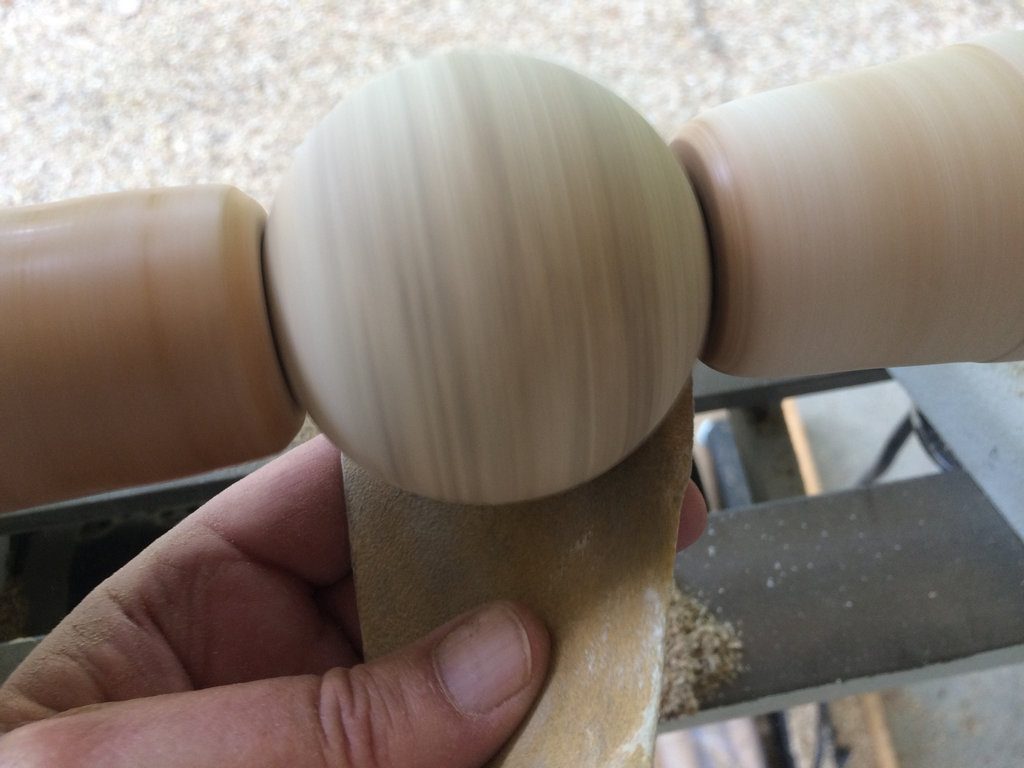
The only thing left to do is to clean up the small area that has been protected by the chucks (Figure 16). Draw another circumference line like you did in Step 4 and rotate the ball in the chucks. Turn off that little area until you reach the new line.
Sand the ball lightly while still on the lathe, constantly moving the sandpaper and turning often to avoid sanding too much in one area (Figure 17). You don’t want to create flat spots anywhere on the ball, so go easy and keep moving.
Figure 16. Figure 17.

That’s it! I encourage you to watch the two videos by Alan Stratton below. In makes much more sense when you can actually see the process. Also, I have some useful tips below as well.
Some Additional Thoughts
- As previously noted, in the second video that describes how to make the chucks, there is a short segment in which Alan describes a way to make the tailstock chuck if you don’t have a threaded live center. This is worth noting if you don’t have a threaded center and don’t want to buy one. You can also avoid having to buy a tap to cut the threads for the tailstock chuck. So really the only thing you might have to buy is a tap for your headstock chuck. That’s a pretty economical way to turn some balls, and the headstock tap is useful for making other things like additional faceplates, jam chucks, etc.
- Be careful not to apply too much pressure when mounting your ball between the chucks. Particularly with soft woods you can dent the workpiece.
- If you plan to finish your ball on the lathe you’ll have to finish part of it, let it cure, and then rotate the ball between the chucks to finish the rest. This is a problem (particularly with film finishes) because the chucks will dent the finish you just applied. For this reason I use a wax finish, although I’ve been able to use a friction polish and clean up the damage with 600 grit paper after it’s removed from the lathe. I then had to rub out the sanded areas with polishing compound. This is far from ideal, and a lot of work, so I’ll be taking a look at the Carter chucking system because it uses neoprene cups which shouldn’t damage a properly cured finish.
- I’m also looking for something that I can apply to the homemade chucks that will be soft enough to avoid finish damage. Maybe rubber cement or something similar. It will take some research to find something that works and doesn’t interact with the finish.
- I plan to shorten my maple chucks and recut the cups. I think shorter will run more true, which is essential. If you’re making a set make them shorter than mine, and I think you’ll have better results.
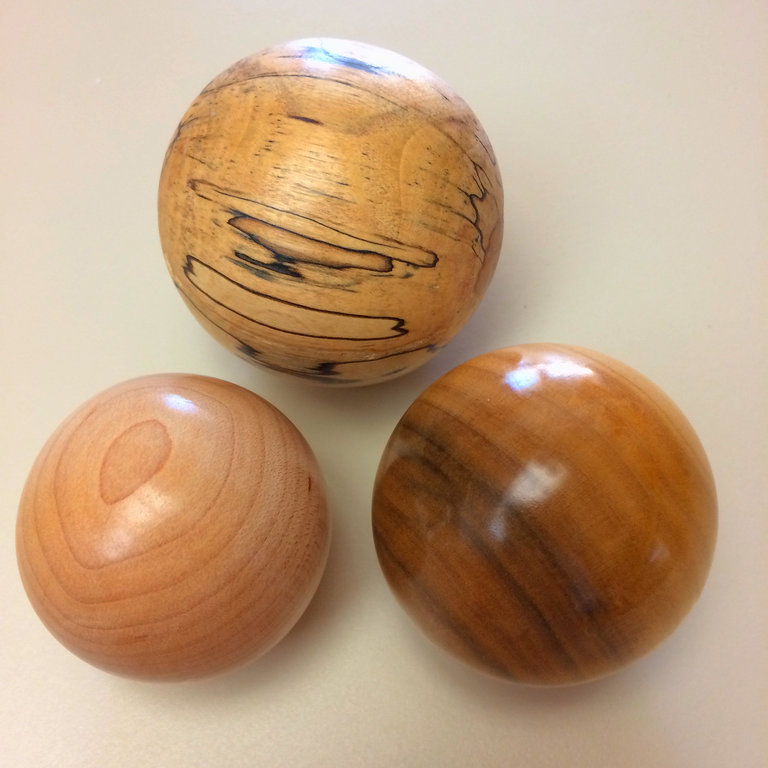
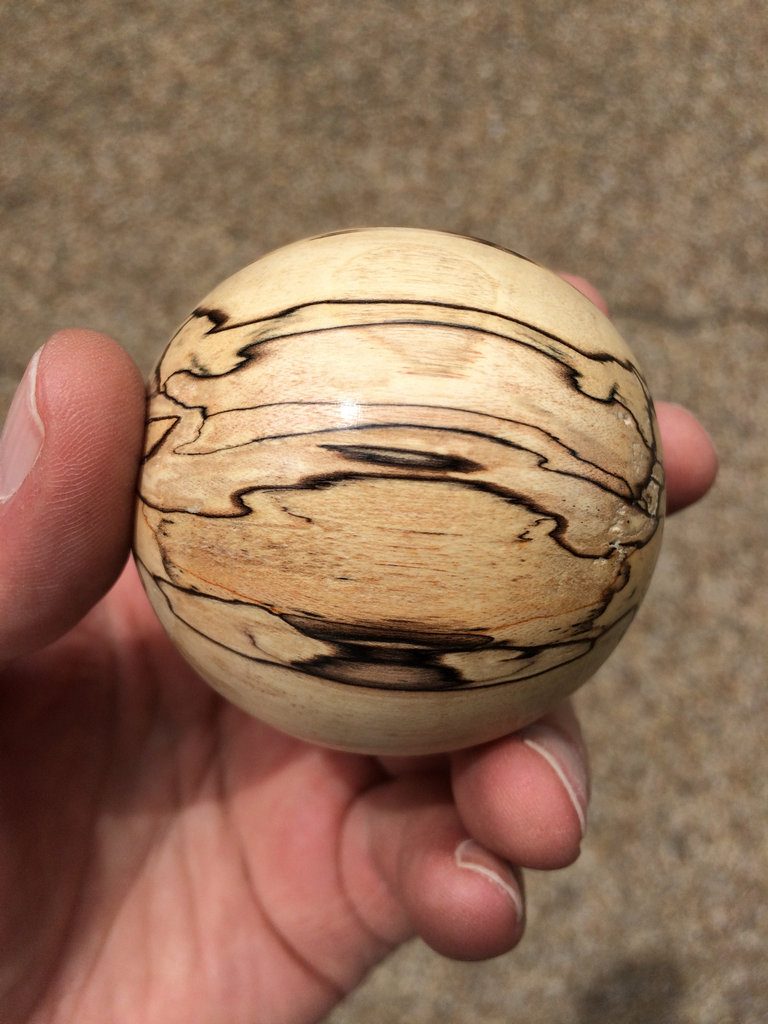
- The wood that I used in this article is spalted river birch finished with Hut Wax PPP. The wood was very punky and did not turn well at all as it tended to break out rather than turn smoothly. If you look closely at Figures 5 and 6 you can clearly see this. I’ve had much better luck with tight grained hardwoods, but it’s hard to beat the color and interesting features of the spalted wood.