Norm’s Adirondack Chair
I recently used Norm Abram’s plans to build an Adirondack chair that are published in his Classics from the new Yankee workshop. His style is easy to follow and he provides photos and detailed drawings on grids, which are good for doing the band saw cuts. This is the third chair i have made, and earlier painted versions did not hold up to the weather, so this time I stained it with an exterior furniture stain instead. The boards are held together by 1 and 5/8th inch screws or 1/4″ by 2 1/2 ” bolts, with no glue involved. I used exterior screws, and stainless steel bolts and nuts where required.
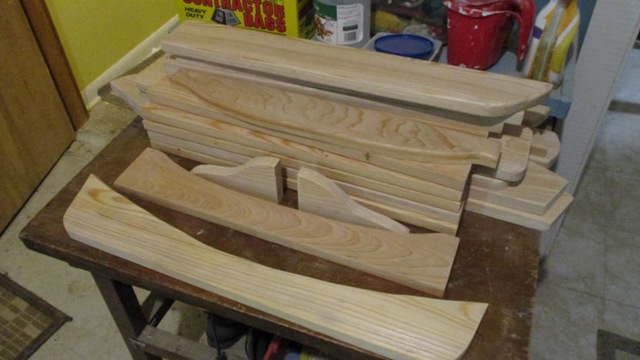
The 22 components (Figure 1) were milled from 13/16th cypress boards from Service Lumber. All parts were sanded to 150 grit before any assembly, then stained with an exterior wood stain made for patio furniture, available from Harrison paints. The arms, and back and seat slats were also rounded over with a 1/4 router bit to make the chair more comfy.
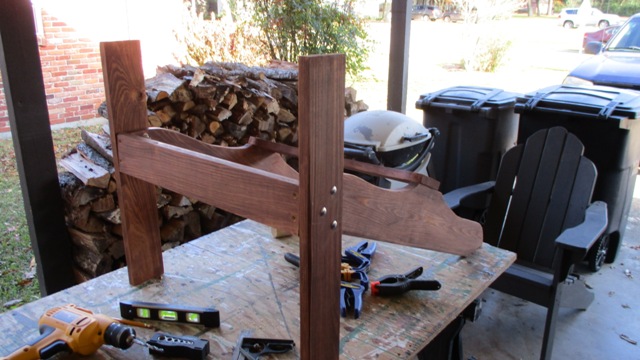
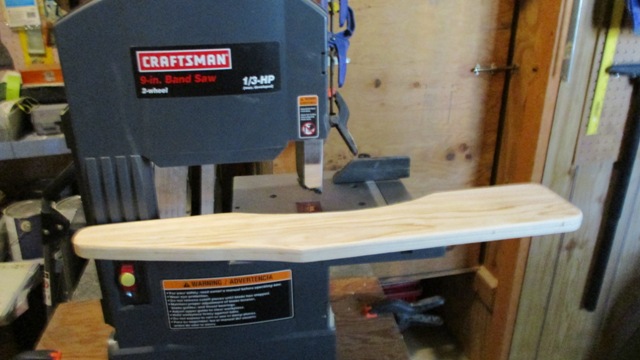
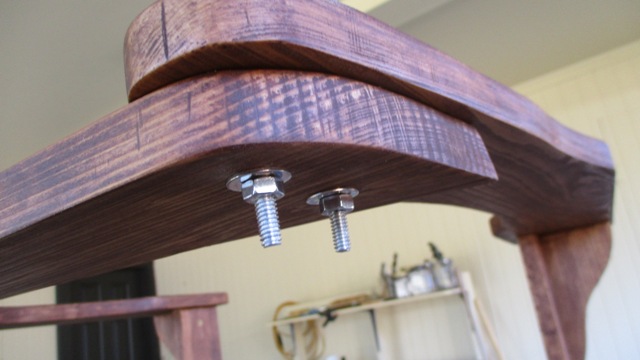
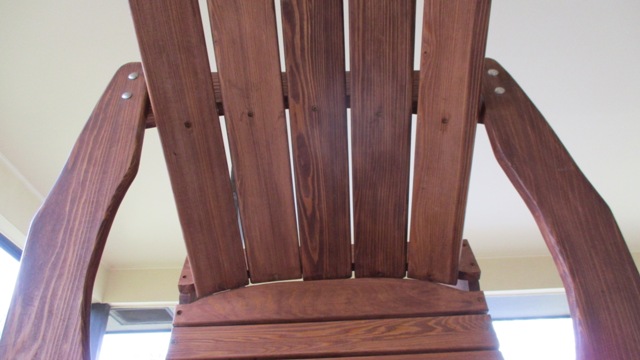
The two side members are cut on a band saw using the patterns in the book. The two side members are joined by a crosspiece at the front and lower rear, and then the front legs are bolted on (Figure 2). The two arms (Figure 3) are screwed into the tops of the front legs, and joined at the back by an upper crosspiece using bolts (Figure 4). This upper crosspiece is the trickiest to mill, as it requires a both a curved and beveled band saw cut. Next come the back slats. the longest, middle slat is screwed into both the lower rear crosspiece and the upper crosspiece. Then the two outer slats are attached, and the remaining two slats are centered by eye and attached (Figure 5). Next come the seat slats. The back slat is the opposite piece from the board where you cut the lower crosspiece. The remaining slats are all the same dimensions, and are screwed into the top of the side members using small 1/4 inch plywood spacers (Figure 6) .

Finally, I sealed the leg and side member bottoms with epoxy, where they will meet the ground (Figure 7).
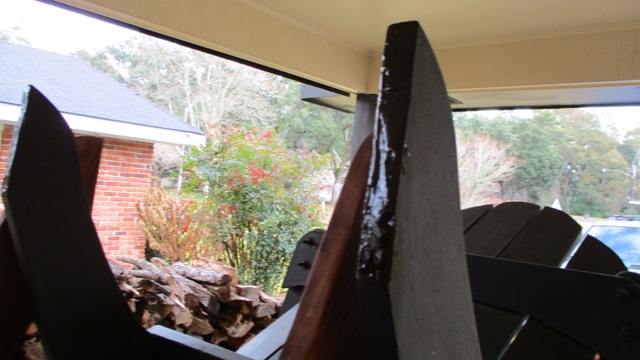
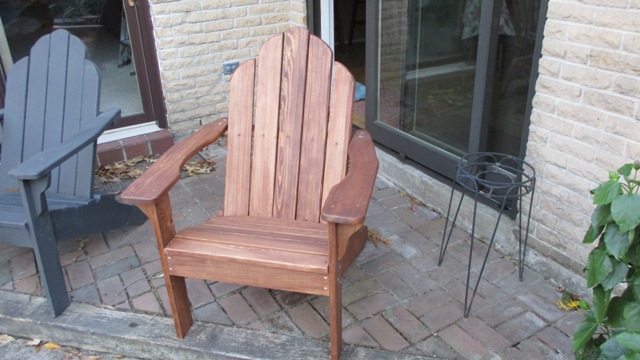
The finished chair (Figure 8) is shown next to an older, painted version. Even with a good coat of primer, water tended to get into crevices under the paint in the older chairs, and had no way to evaporate, causing rot. Perhaps spraying instead of hand painting would solve this problem. At any rate, the parts are fairly easy to remove and replace, since no glue is used, so even the painted chairs lasted two decades. We will see how long this exterior stained chair lasts. This is a fairly simple build, using no fancy joints. A band saw helps, but it can be cut with a jig saw. All the dimensions are given in Abram’s book, but I am sure quite similar plans are also available on the web.
My skill levels are intermediate, and I enjoy building tables, chairs, bookcases and renovating furniture. I also have a fair level of carpentry experience from volunteering for Habitat for Humanity and Rebuild Together Baton Rouge. I own a Shopsmith mark V, miter saw and various hand and power tools.