More Pictures:
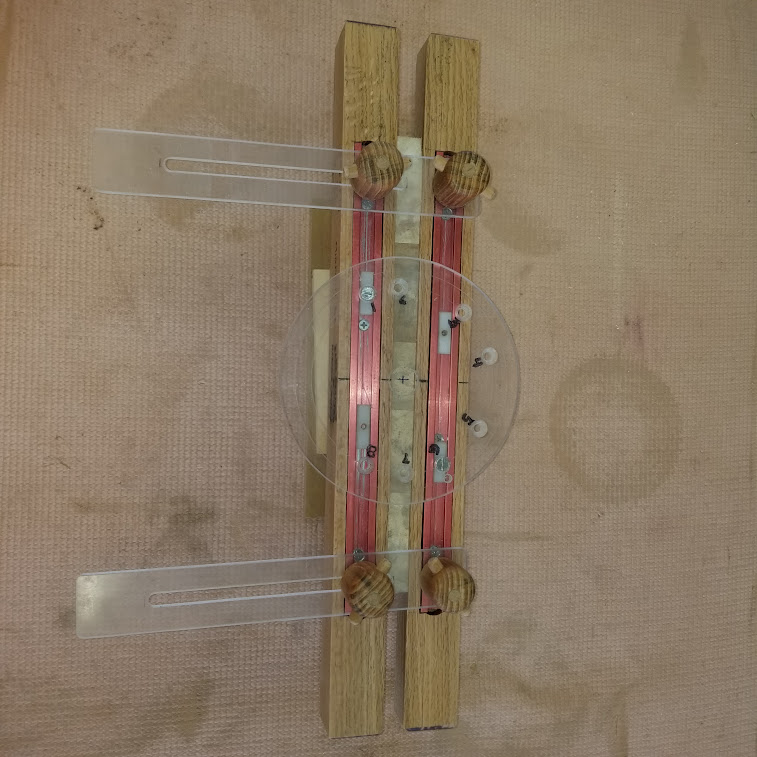
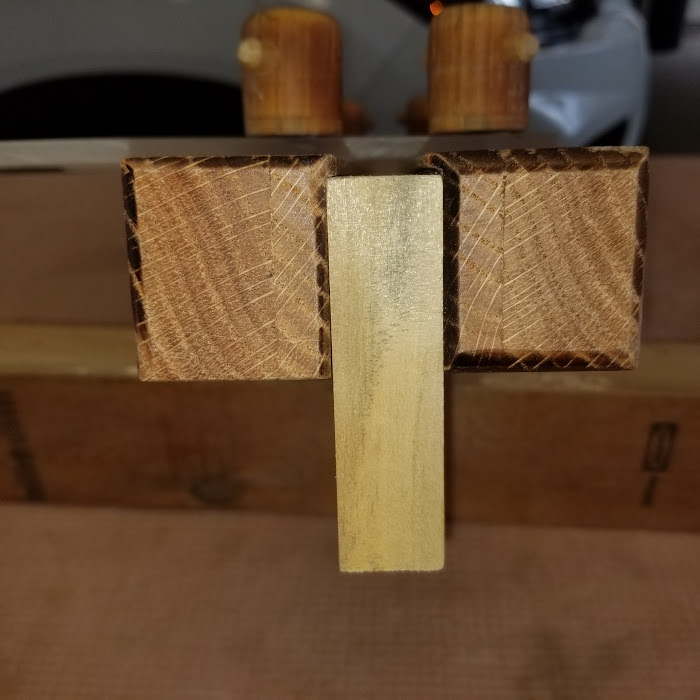
Original Video for the Mortise Master:
Fred, Bill and Dale having fun.
]]>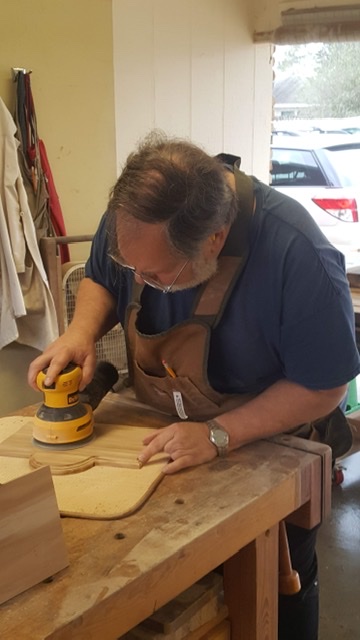
Richard sanding a plaque 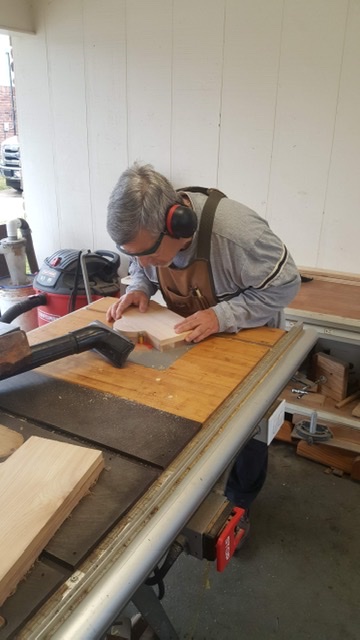
George routing plaque from a template 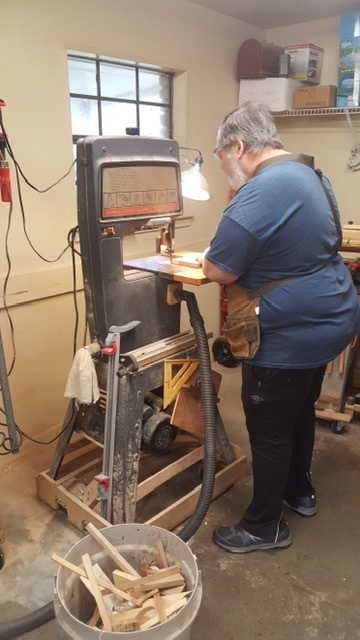
Richard cutting plaque to rough size on bandsaw 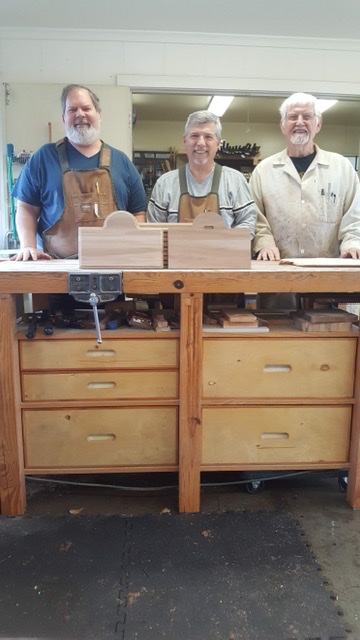
The “Team” with finished plaques showing front and rear view.

I recently used Norm Abram’s plans to build an Adirondack chair that are published in his Classics from the new Yankee workshop. His style is easy to follow and he provides photos and detailed drawings on grids, which are good for doing the band saw cuts. This is the third chair i have made, and earlier painted versions did not hold up to the weather, so this time I stained it with an exterior furniture stain instead. The boards are held together by 1 and 5/8th inch screws or 1/4″ by 2 1/2 ” bolts, with no glue involved. I used exterior screws, and stainless steel bolts and nuts where required.
The 22 components (Figure 1) were milled from 13/16th cypress boards from Service Lumber. All parts were sanded to 150 grit before any assembly, then stained with an exterior wood stain made for patio furniture, available from Harrison paints. The arms, and back and seat slats were also rounded over with a 1/4 router bit to make the chair more comfy.

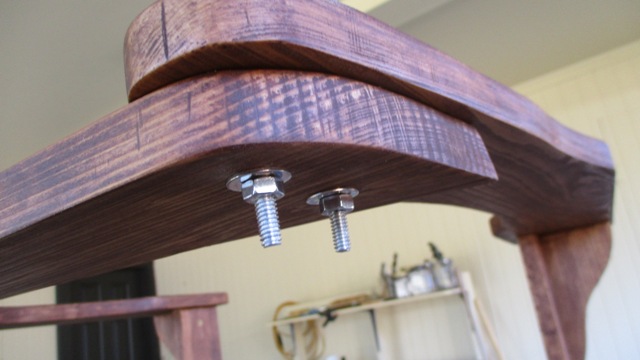
The two side members are cut on a band saw using the patterns in the book. The two side members are joined by a crosspiece at the front and lower rear, and then the front legs are bolted on (Figure 2). The two arms (Figure 3) are screwed into the tops of the front legs, and joined at the back by an upper crosspiece using bolts (Figure 4). This upper crosspiece is the trickiest to mill, as it requires a both a curved and beveled band saw cut. Next come the back slats. the longest, middle slat is screwed into both the lower rear crosspiece and the upper crosspiece. Then the two outer slats are attached, and the remaining two slats are centered by eye and attached (Figure 5). Next come the seat slats. The back slat is the opposite piece from the board where you cut the lower crosspiece. The remaining slats are all the same dimensions, and are screwed into the top of the side members using small 1/4 inch plywood spacers (Figure 6) .




Finally, I sealed the leg and side member bottoms with epoxy, where they will meet the ground (Figure 7).

The finished chair (Figure 8) is shown next to an older, painted version. Even with a good coat of primer, water tended to get into crevices under the paint in the older chairs, and had no way to evaporate, causing rot. Perhaps spraying instead of hand painting would solve this problem. At any rate, the parts are fairly easy to remove and replace, since no glue is used, so even the painted chairs lasted two decades. We will see how long this exterior stained chair lasts. This is a fairly simple build, using no fancy joints. A band saw helps, but it can be cut with a jig saw. All the dimensions are given in Abram’s book, but I am sure quite similar plans are also available on the web.

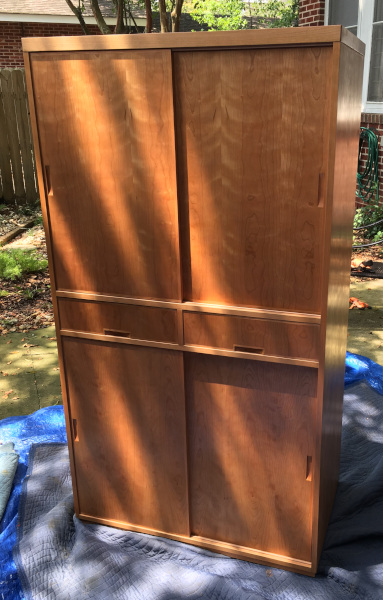
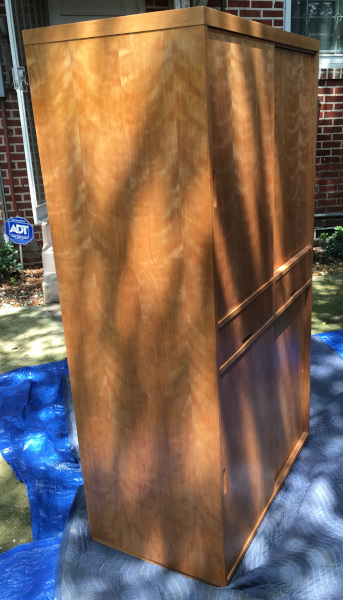
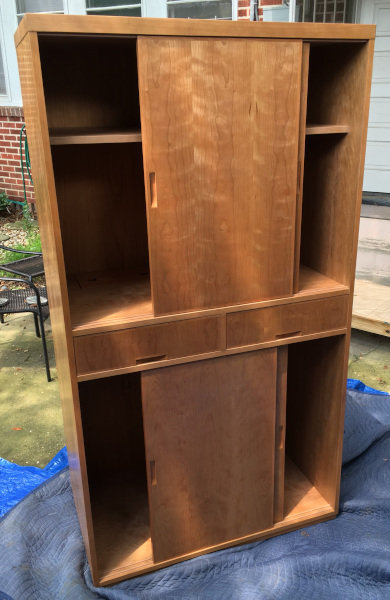

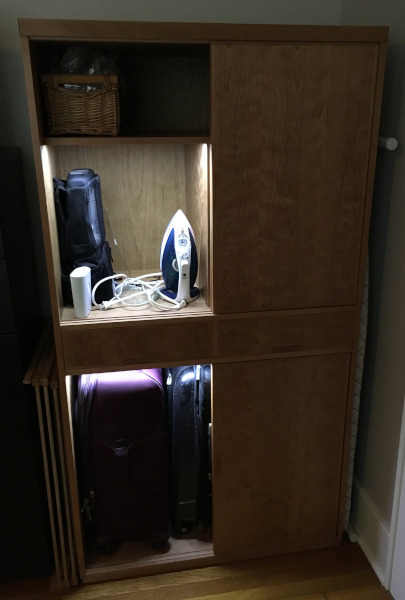
Dimension: 64″ H x 36″ W x 22″ D • Primary Wood: cherry • Finish: garnet shellac (padded)
“Traditionally, a linen-press is a cabinet, usually of woods such as oak, walnut, or mahogany, and designed for storing sheets, table-napkins, clothing, and other textiles.” — WIkipedia
This piece goes in to our bedroom to hold miscellaneous items other than clothing. To decide its design, I studied the linen presses for their forms and dimensions. (Whether it’ll actually house linens is remain to be seen.) As such, I’m loosely calling this cabinet a linen press with a modern flare.
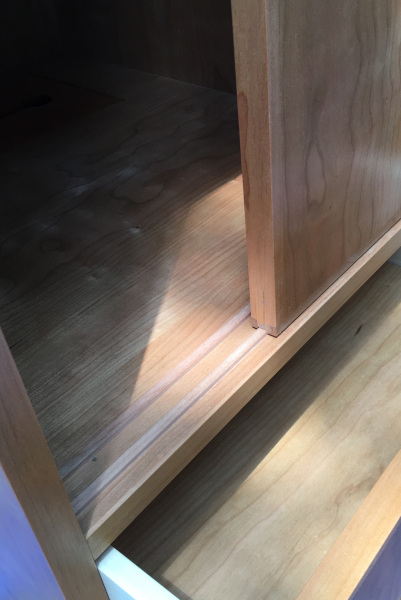
There are several features that I wanted to explorer with this build. First are the sliding doors. They are common in Japan where I grew up, much more so than here in the U.S. (probably due to tighter housings over there). So this was something I wanted to try out for some time. There are basically 2 ways to construct the sliding doors: a grooved door to slide on a protruding rail or a door to slide in a shallow dado. Here, I used the protruding tracks on the carcass. To make the doors removable, the height of doors are shorter than the opening by the height of the track.
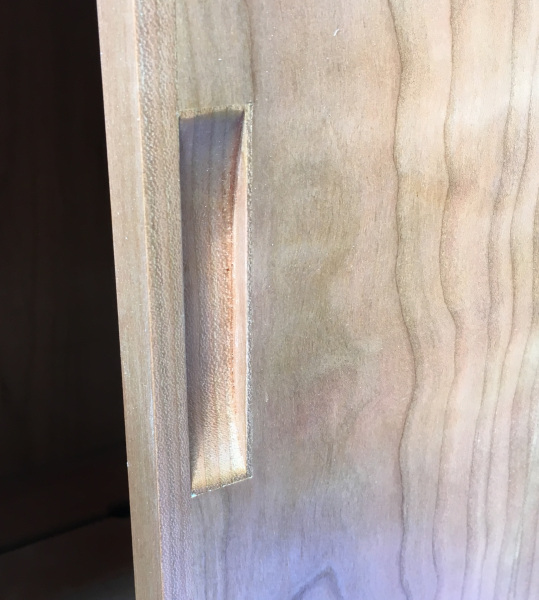
Another feature that goes along with the sliding doors are the recessed door handles. “Bi-slide” doors cannot have protruding handles. Such handle on a rear door would block the motion of the front door. I milled a simple recessed handle from a solid cherry block by plunge cutting it with a dado stack. The plunge cut was made with a larger stock then milled to the final dimension, leaving 1/16″ reveals around the recess.
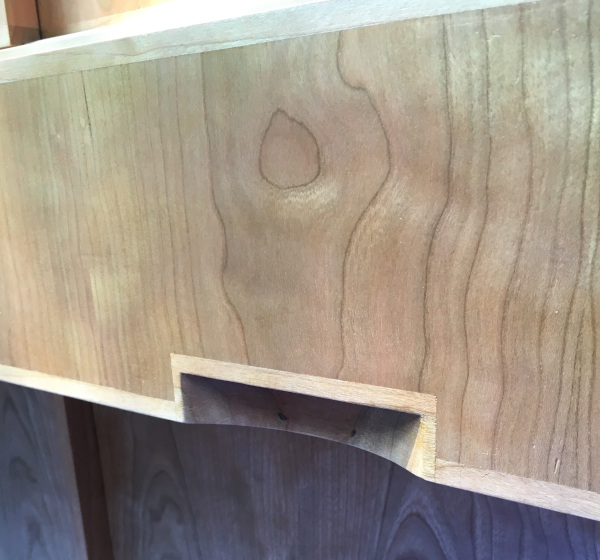
I’ve done the same for the drawers to maintain the design uniformity. The plunge depth was increased, and finger recess is added under the top reveal.
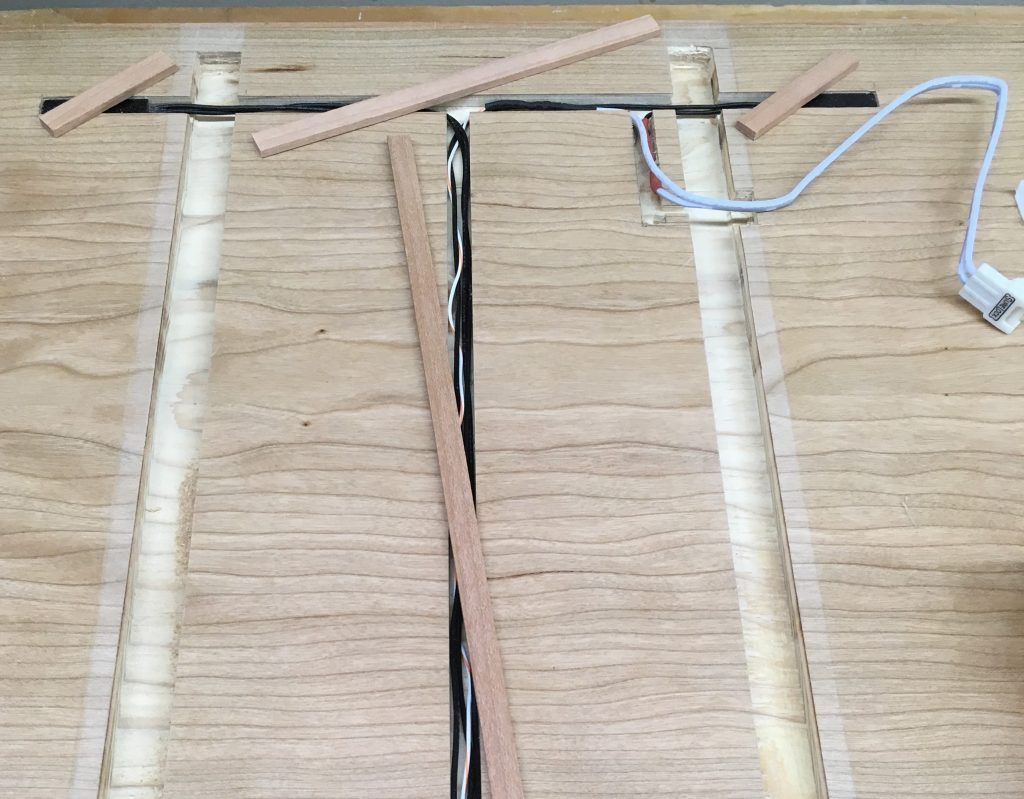
The final feature is the LED lighting. Doored cavities are lit by LED strips. The light light only comes on when the doors are open, controlled by magnetic (or reed) switches embedded in wood. All the wires (which are extracted from old computer network cables) are also laid in grooves with solid cherry covers.
Tidbits:
- These “hardwood” plywood sheets are the first one I ever encountered/noticed that they have softwood (pine?) inner plies. The face veneers are very nice and beefy, though.
- Grain selection is as important (if not more) for plywood than solid wood. Show panels should be cut first with best looks. Avoid having the cathedral patterns to appear along the edges. I was mostly successful at that with minor flaws that not many will notice.
- Ideally, I would use one sheet for doors and drawer fronts,
- If you use cauls on the underside during glue up, make sure that they are all the same height or use spacer blocks. Mine weren’t, and the carcass as a result is slightly bowed. I had to spend extra time making the doors non-square to fit, and I dare would not butt this cabinet up against another furniture…
- Magnetic switches are polarity sensitive. Test before cover it up.
- Garnet shellac actually yellows cherry. It will be interesting what color the cabinet will settle after many years of use.
- If you pad shellac, prefinish as much as you can before glue-up, especially for darker kinds. I did so for the inside faces but forgot that the design calls for the top to protrude just a hair from the sides. I could not master to lay down even coats right along that joining edge (after 4 tries) and it shows.
- I will probably add more shelving and linen drawers as we have a better idea of what all exactly goes into this cabinet.
