Epoxy Finish

Step-by-step article by Bob Chambers and Keith Bryan who partnered together to apply a clear epoxy finish to a Spanish cedar dresser top
Keith and I recently partnered up to apply a clear epoxy finish to a Spanish cedar dresser top that he had built. If you’re unfamiliar with this finish it’s that thick clear finish commonly used on bar tops and tabletops in restaurants and bars. Sometimes the finish will encapsulate pictures, coins, rocks, and other items. It’s an extremely durable finish, though not particularly good with very hot objects. What makes this finish unique is that is poured on rather than brushed, wiped, or sprayed. It’s also very messy to apply unless you take extra precautions (which unfortunately we did not). Like all epoxy it is comprised of a resin and a hardener that must be mixed just prior to use.
There are at least three methods for applying an epoxy finish, depending upon the look you are trying to achieve. The first is to simply flow coat the entire work piece, allowing the epoxy to flow out and over the edges. This is the one we chose. The second is to mount the workpiece to a flat surface and then build a dam around the perimeter at a height equal to the thickness of the surface finish and at a distance from the edges equal to the thickness you want on the edges. The third method is to put banding around the edges of the workpiece that are taller than the top of the workpiece by the amount of thickness you will ultimately achieve.
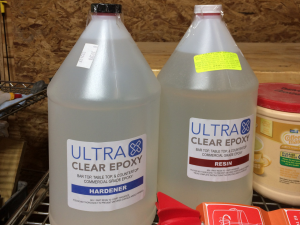
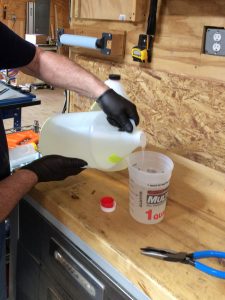
Our first step was to select an epoxy system that we felt would give us the results we wanted with a minimum amount of trouble. After independently researching many offerings on the web we both came to the conclusion that Ultra Clear Epoxy was probably the best choice for a number of reasons. First, since we both knew nothing about applying an epoxy finish, information was important to us. Ultra Clear has a very good website chock full of instructional videos and information about the product and how to use it. Secondly it is advertised as self leveling to a thickness of 1/8″ which was ideal for this project. Third, Keith was able to buy the finish as a kit which included a drill helix mixer for mixing, 2 one-gallon mixing buckets with volume markings, a one-quart marked bucket for mixing a seal coat, stirring stick, plastic paddle for working the finish as it is poured, and a very detailed instruction set. In addition Keith bought a plastic painter’s cut can with throwaway liners which came in very handy. A pair of propane torches, a heat gun, gloves, and some shims completed our toolkit for this project.
Keith bought a 2-gallon kit (one gallon of resin and one gallon of hardener) which was enough to mix a seal coat and a pour coat with 3/4 gallon left over.
From start to finish the project took about seven hours, with five of those hours spent waiting for things to dry before we could move to the next step.
Step One – Positioning and leveling the workpiece
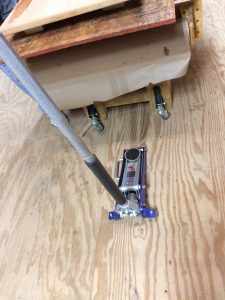
Keith covered his workbench with a piece of particle board that would serve as a sacrificial mount for the the dresser top as well as protect the top of the workbench. You can see this in the picture below. On top of this we placed several 2×4 blocks that would hold the dresser top above the particle board and allow the epoxy to drip off the edge without sticking the dresser top to the particle board. As we discovered later the particle board was not wide enough so we had to make some modifications. More on that later.
Ultra Clear is self leveling. We wanted it to flow evenly over the sides so having the workpiece perfectly level was important. Plus we were not sure if the advertised 1/8″ thickness would be maintained across the the entire surface if it was canted in one direction or another. So we used wood and plastic shims at various spots, including under the legs of the work bench until we got things more or less level. Keith had a couple of long bubble levels that were ideal for this.
Step Two – Prepping the wood
The raw wood was fairly light colored with not much visible character to the grain. Keith wanted it to be a little darker and wanted to pop the grain a little. We weren’t sure that the epoxy finish would accomplish that in the same way that an oil based finished would, but we were reluctant to use a stain, not knowing for sure if the epoxy would be compatible. We finally decided to apply coat of Zinsser SealCoat, a dewaxed shellac that we were pretty sure would work. It would bring out some of the character in the wood as well as sealing the wood. We were also hopeful that it would seal well enough to prevent some of the bubbles that would appear when we started the process. In the end it might have had a little effect, but it’s hard to say for sure if it would have been worse without it.
We let the shellac dry for an hour which gave us time to study the epoxy instructions again before moving to the next step.
Step Three – Apply a seal coat of epoxy
With these finishes bubbles are the main problem that will have to be dealt with. The easiest way to make it more manageable is to brush on a coat of epoxy and let it cure for 4 – 6 hours before doing the final pour. But first we had to mix a quart of epoxy for this step.
Before we could begin the mix the resin had to sit in hot water for 15 minutes. Following that the hardener went into the mixing container first, followed by the resin in exactly equal amounts. We then mixed for two minutes with the drill helix mixer, one minute by hand, and then three minutes with the drill mixer. This same regimen was used later when we mixed a full gallon.
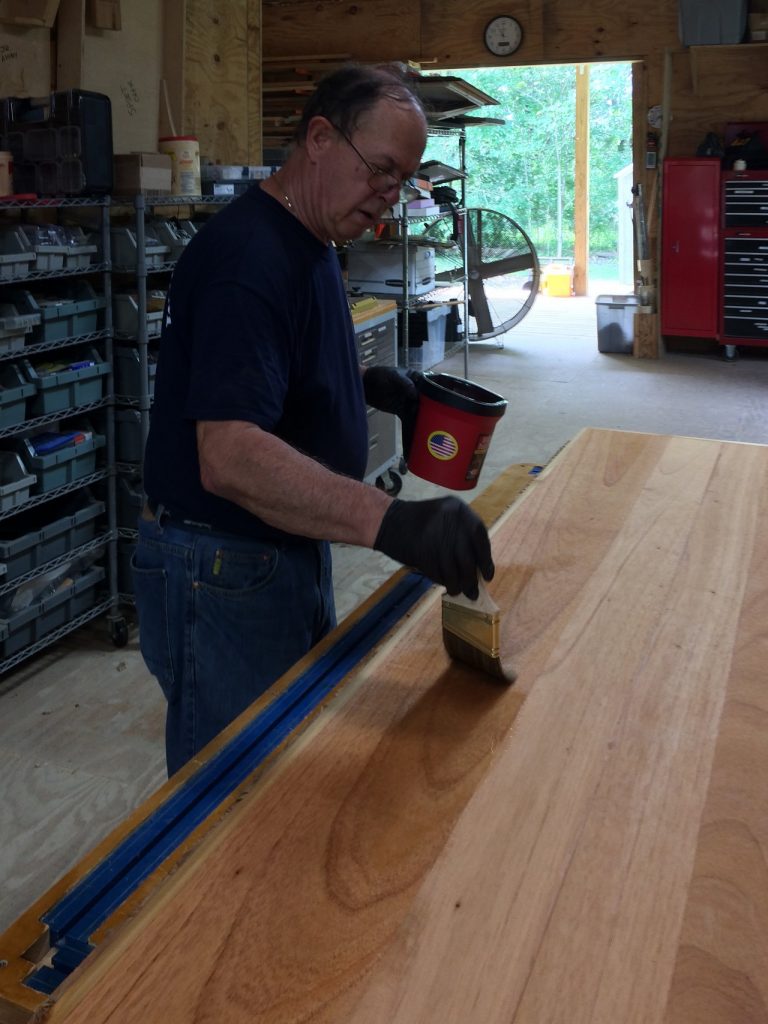
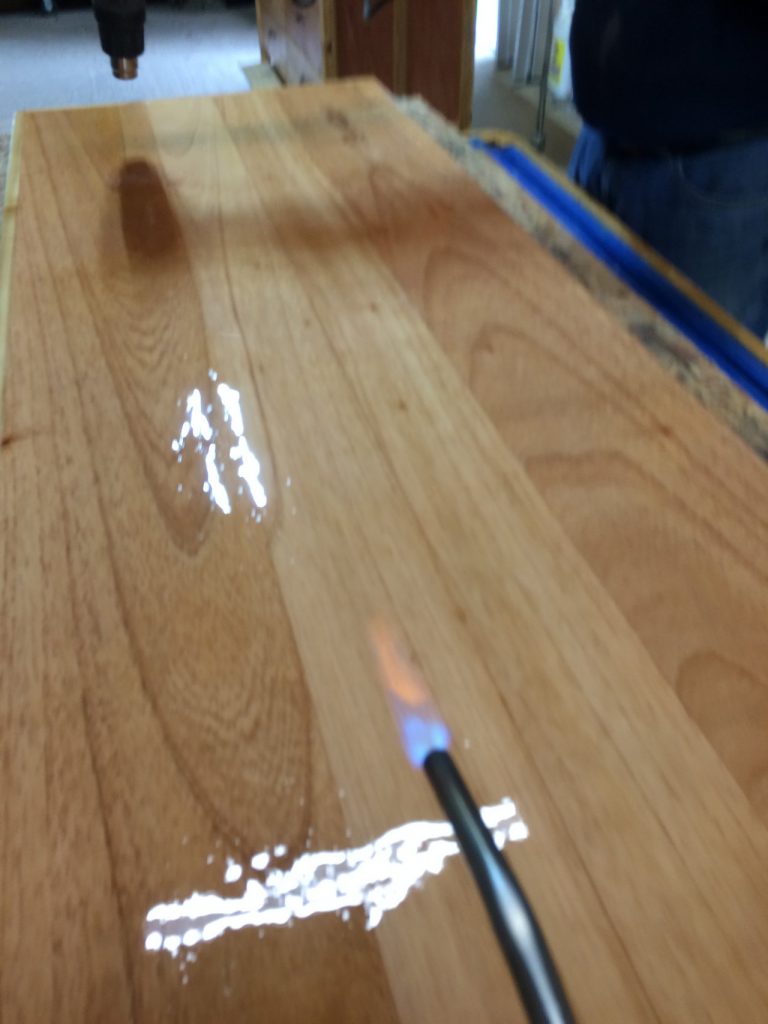
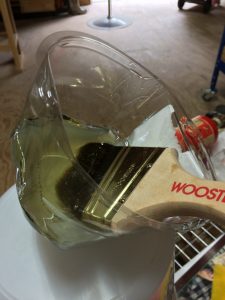
Once mixed Keith poured some of the mixture into his cut can and began immediately brushing the epoxy over the surface. I followed him with a propane torch popping bubbles as they appeared. We found that a heat gun works just as well as a torch, the only difference really being that a heat gun can blow dust onto the surface.
After popping bubbles for about a half hour we were finished with this phase. Before we could move on to the final pour we had to wait four hours for the seal coat to partially cure. There’s a window where sanding between coats is not necessary, and four hours is the minimum wait time.
At the end of four hours the workpiece looked pretty rough. We found some trash in the surface that we picked out with tweezers, and there were little irregularities everywhere. That was discouraging, but we were hopeful that the final pour would eliminate these problems.

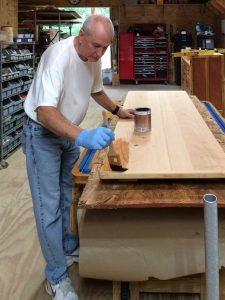
Keith brushes on the sealing
coat. Notice the painter’s cut can. Easy to hold and has a disposable liner.Once Keith finished brushing he grabbed a heat gun and started helping me pop bubbles. The seal coat looked pretty rough when we were finished. That was a little discouraging.
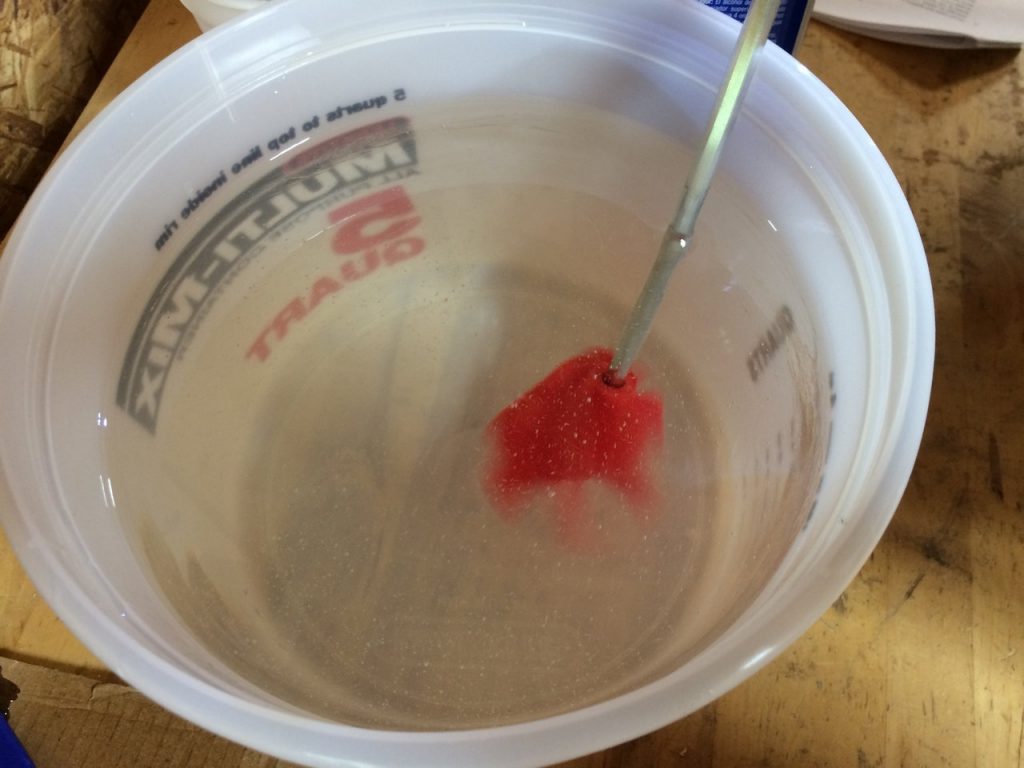
Something to note here is that epoxy cures via an exothermic reaction between the resin and hardener. In other words as it hardens it gets hot. Really hot if there is a significant volume.
After the seal coat was applied Keith put the brush in the cut can and set it aside. It might not be obvious in the picture, but it was hot enough to partially melt the plastic liner in the cut can.
Step Four – The final pour
The first thing we had to address was the fact that our mounting board was too narrow and left the edges of Keith’s workbench exposed. This was obvious from the amount of epoxy that ended up on the mounting board (particle board) during the brush coat. Keith had some nice T-tracks embedded in the workbench, so we wanted to keep it from getting damaged. Our solution was to butt some long boards up against the particle board and seal the gap with plastic packing tape. In this we were only partially successful, and the tape ended up leaking and partially gluing the boards to the workbench. Very poor planning on our part, but we definitely learned what to expect the next time we do this. A little later I’ll show you a much better way to avoid this problem.
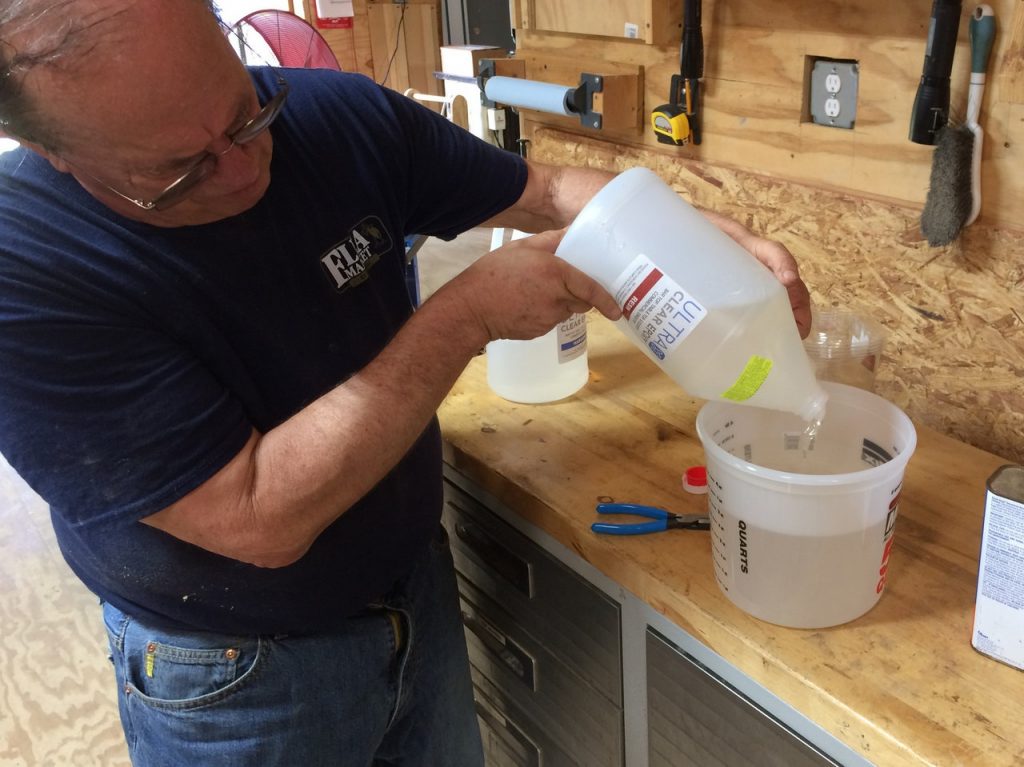
Once we had more or less fixed the mounting board problem we were ready to mix a gallon of epoxy for the pour. We used the large mixing container supplied in the kit and used the procedure outlined in Step 3. Again we used a combination of drill mounted helix mixer and manual stirring.

Keith measures the pour coat 
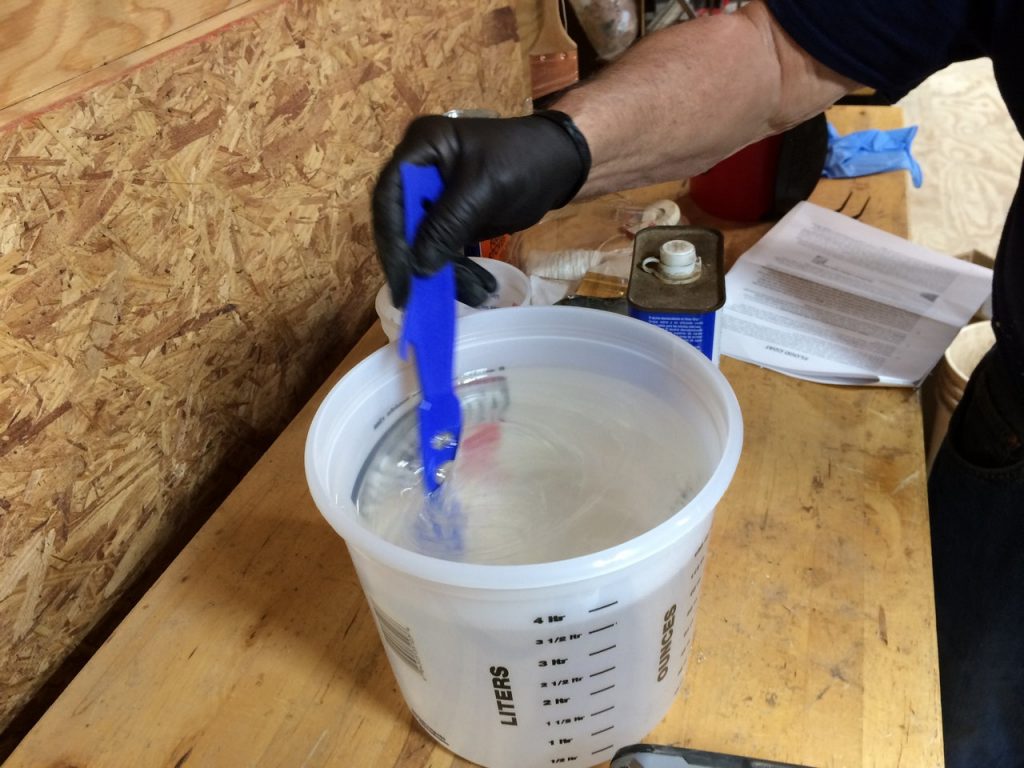
Using the helix mixer Manually stirring
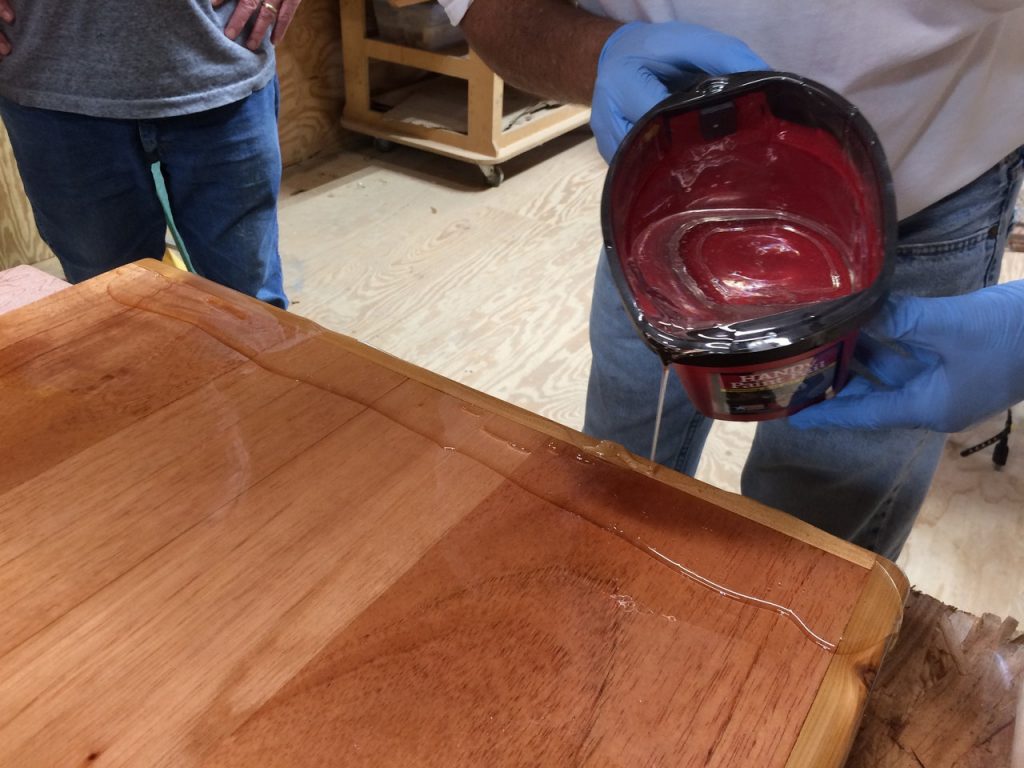
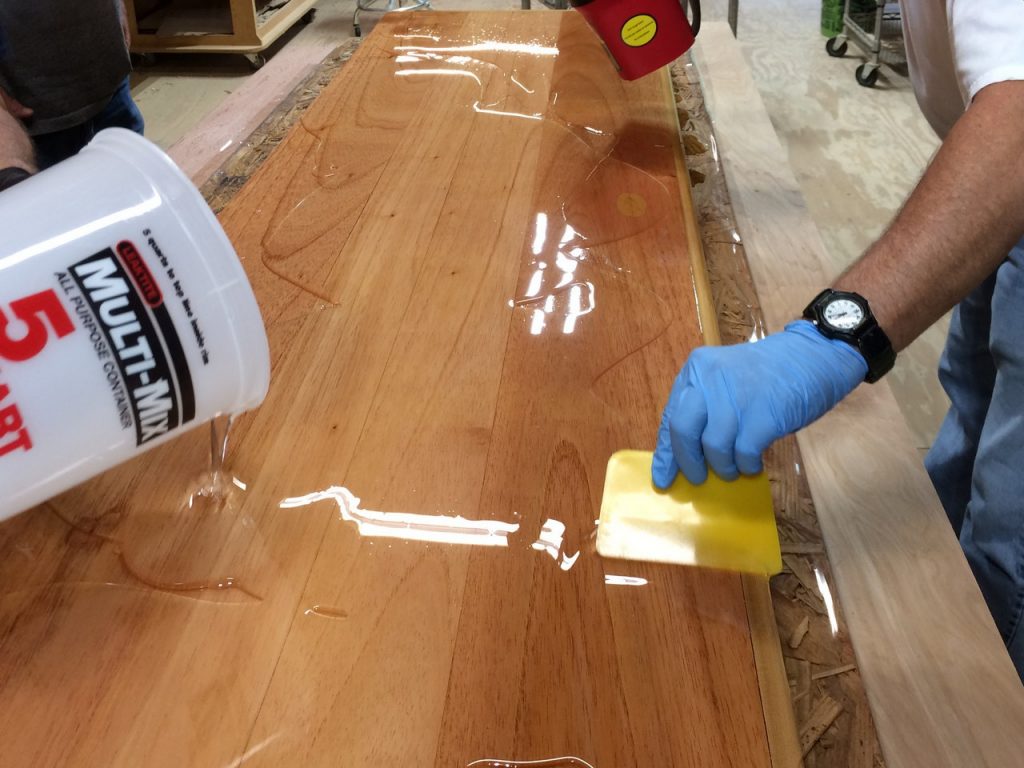
With all the mixing complete we moved immediately to the pour. Keith worked the main bucket while I tried to focus on the edges using the cut can (with a new liner!). This part went reasonably well. Occasionally I had to “encourage” the outward flow of epoxy to fill in areas that the pour missed with the little plastic spatula from the kit. We wondered if this would be necessary, and to some degree it was.
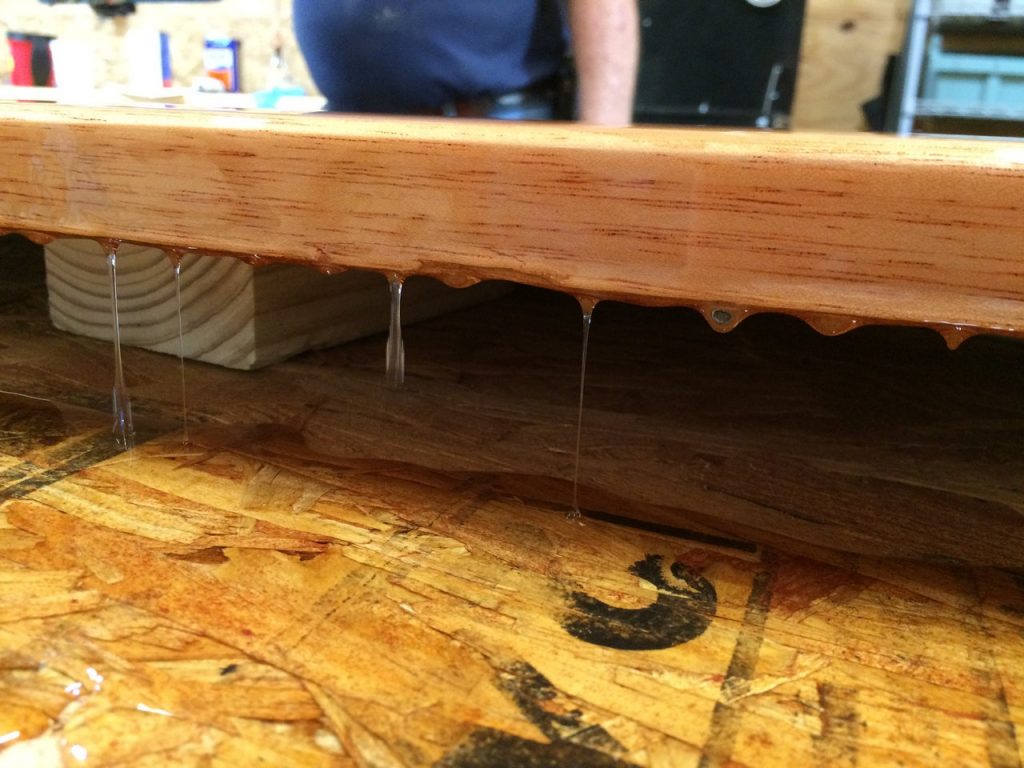
At this point we had epoxy running off all four sides, and things were getting messy. You can see below why the support blocks were necessary.
Working the edges Keith pours it on while I
use the spatulaRunning off the edges
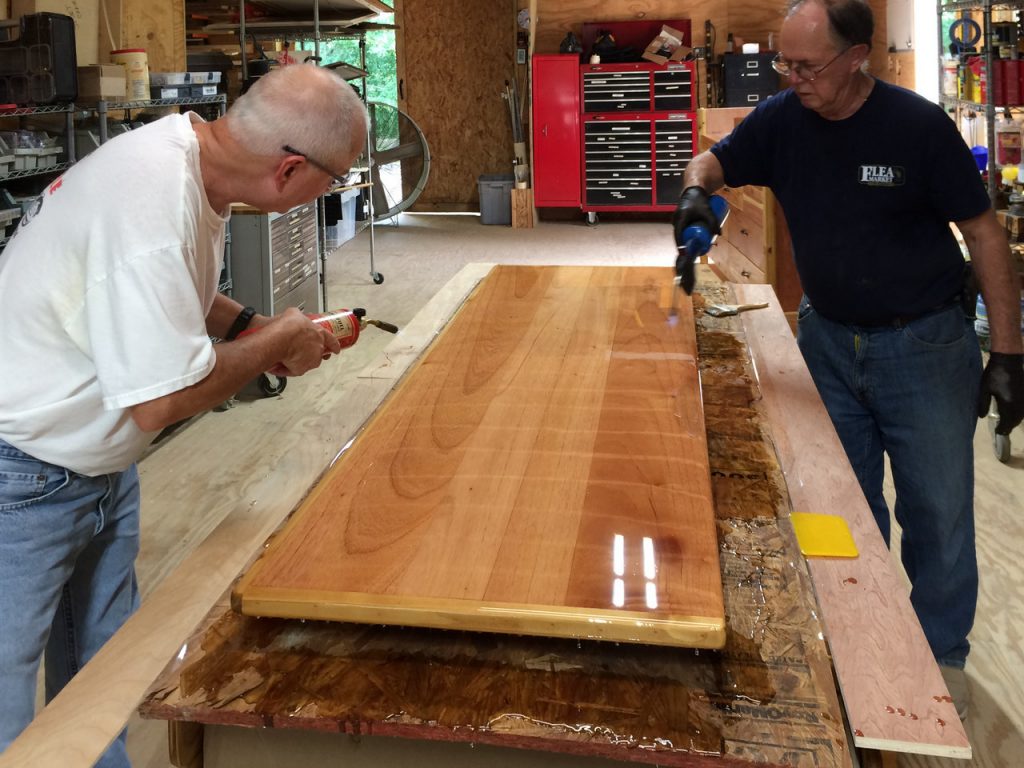
After finishing the pour we using propane torches to get rid of air bubbles in the surface. The seal coat had done its job well, and we only had a few problem areas where bubbles just kept coming. We continued using the torches for about 30 minutes, a little past the recommended time. We were careful to keep the flame moving to avoid burning the curing epoxy.
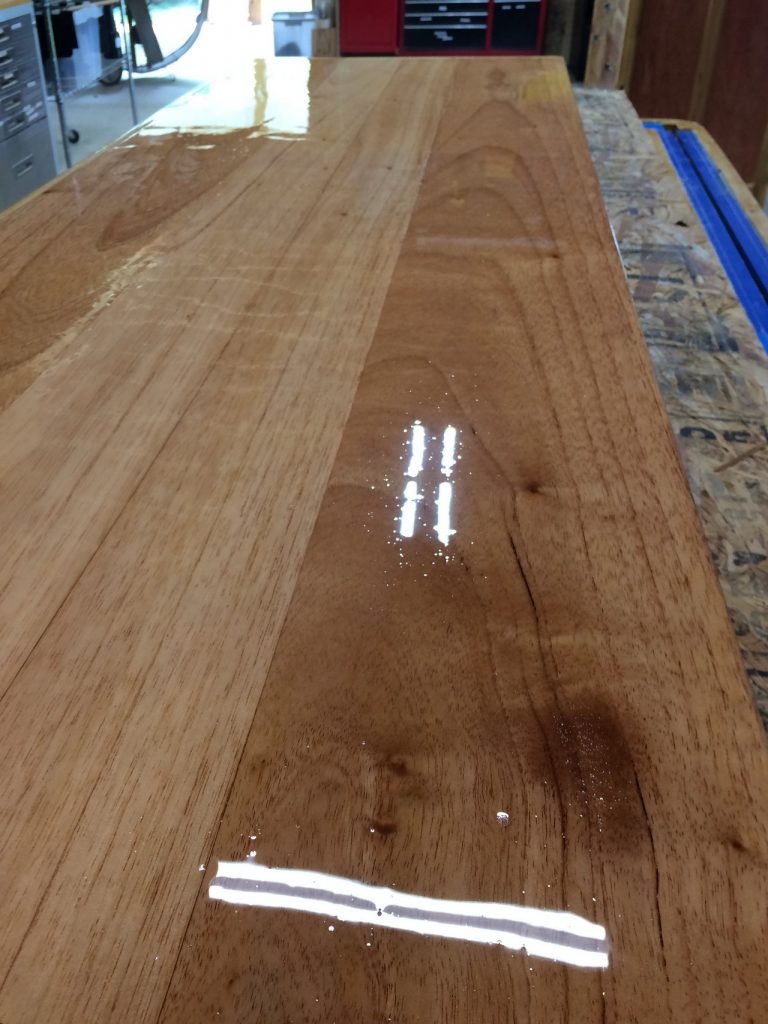
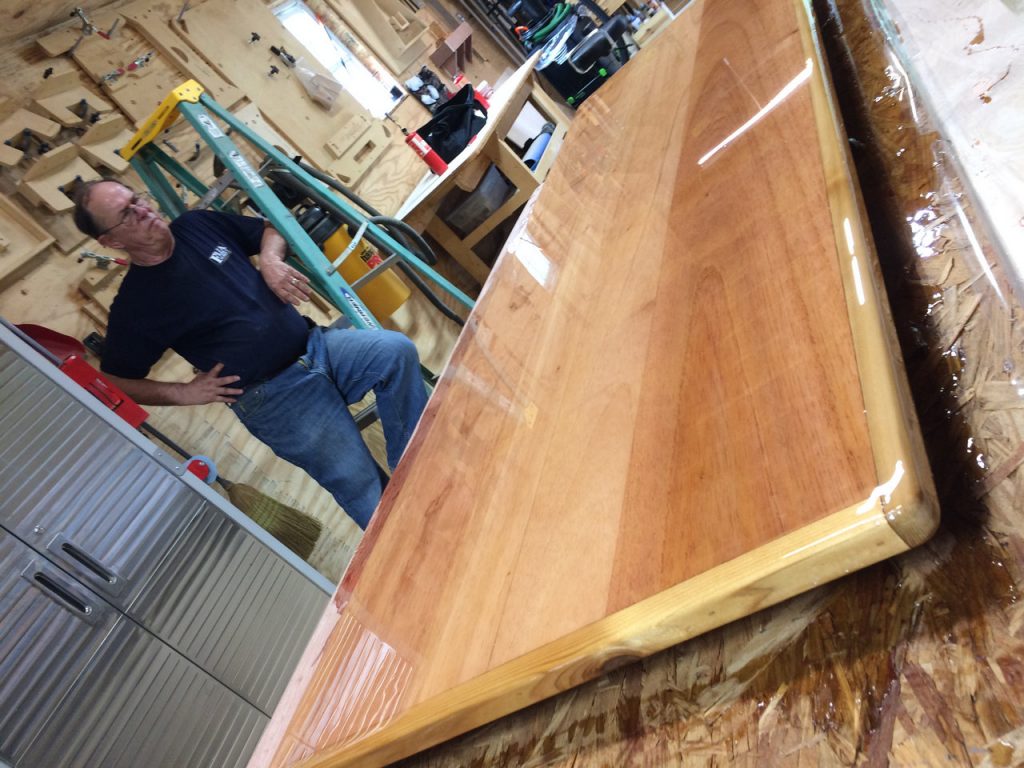
As you can see below we now have a very nice dresser top with an ultra smooth finish. The only things left to do were to let it cure and remove the drips underneath the edge. Keith did that after a three-day cure time using a combination of wood chisels and sanding.
Lessons Learned
- First of all this would have been difficult for one person to do. Keith and I had our hands full, and we were fortunate to have Curtis Dawson and Jim Landry show up and help us. So a big thanks to you guys!
- This cannot be done outdoors. Like any finish that takes time to cure it will pick up everything that passes by.
- We were able to mix and pour from the same container, although it’s necessary to use a different container for each mix. Some sites will tell you to mix in one container and pour to another without scraping the sides to avoid having some partially mixed components from contaminating the mixture and producing areas that won’t cure. This did not happen to us, but we religiously followed the mixing instructions that came in the kit. Also we didn’t scrape the sides of the pour bucket to get that last little bit out.
- Propane torches and heat guns work equally well to pop bubbles, but the torch has the
advantage of not blowing particles in the air onto the surface. - A brushed on seal coat is mandatory if coating raw wood. Skip this step and bubbles with be a big problem later.
- We found that denatured alcohol will get epoxy off your hands if you get to it quick enough.
- Dewaxed shellac worked just fine beneath the epoxy, and improved the look of the wood.
- Proper planning and space make a big difference. Having a big shop to work in allowed us to set up a mixing area and have plenty of room to move around the work surface.
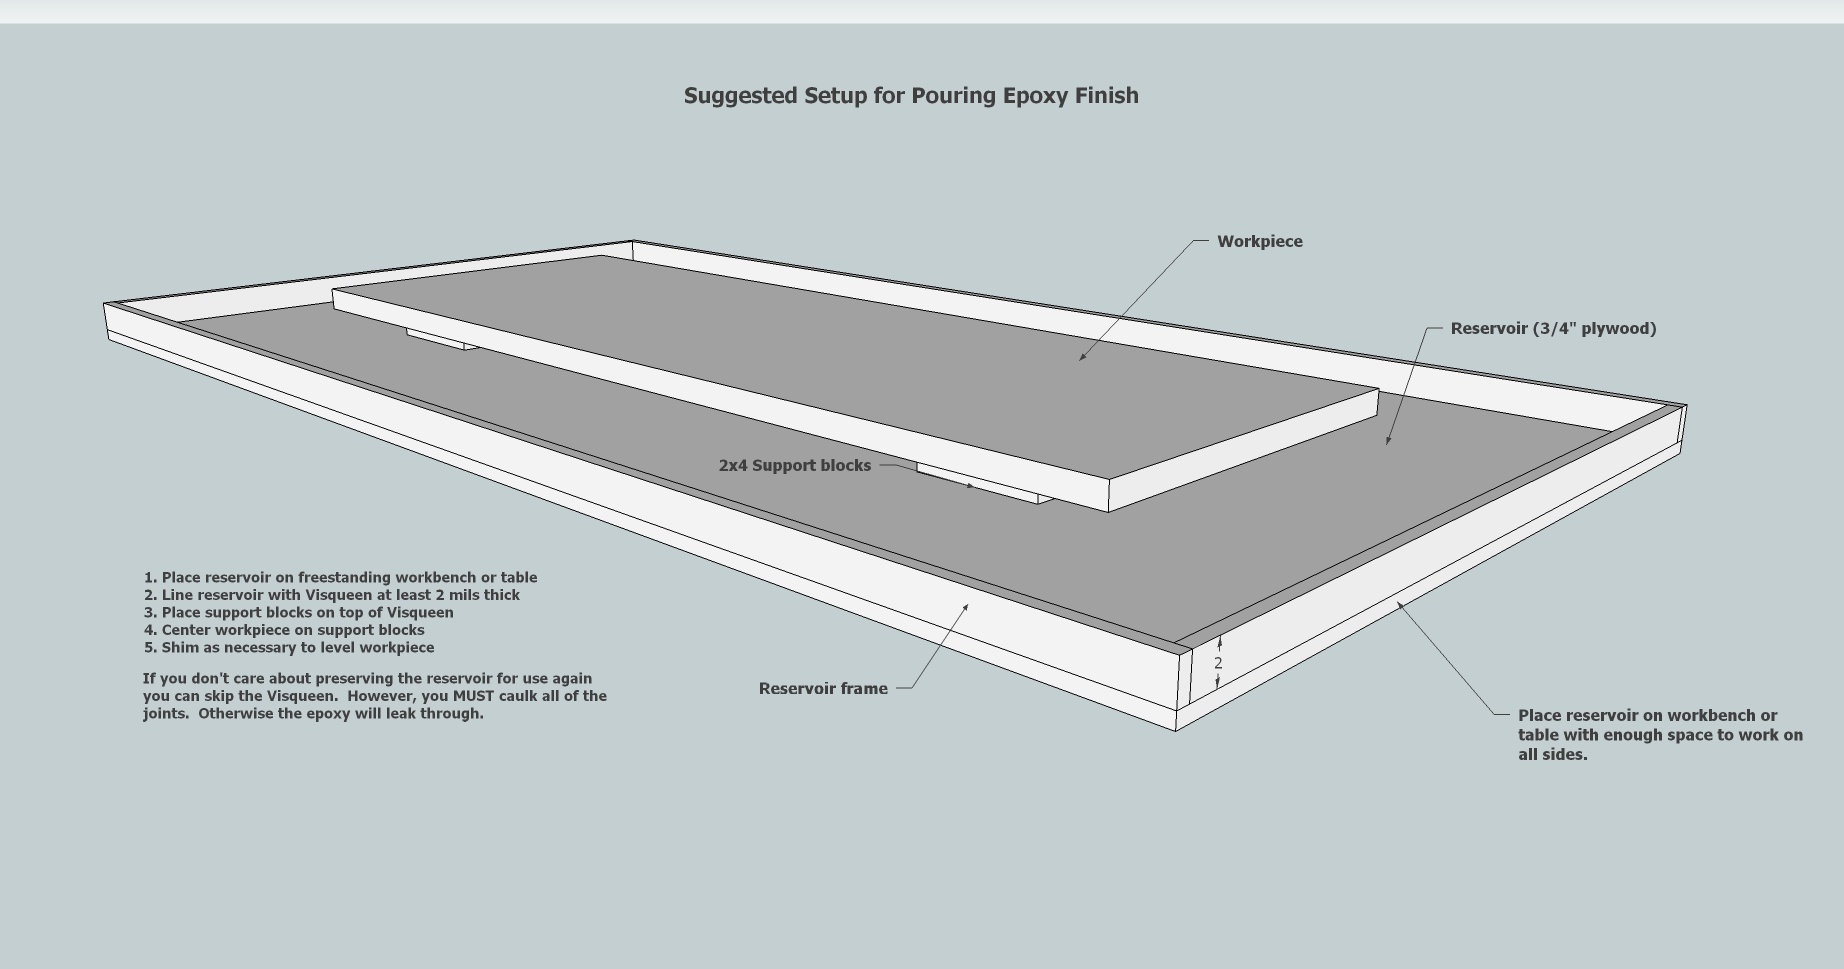
See below for a suggestion on how to set up a leak free pour area. We would have had fewer problems if we had built something like this initially, and we will definitely plan better on the next project.